How To Make Cabinet Doors like a Pro? 2024
Thinking of adding brand new cabinet doors to your kitchen or bathroom and give your place a fresh and different look? Well, the good news is that you can do it yourself and save a lot of money.
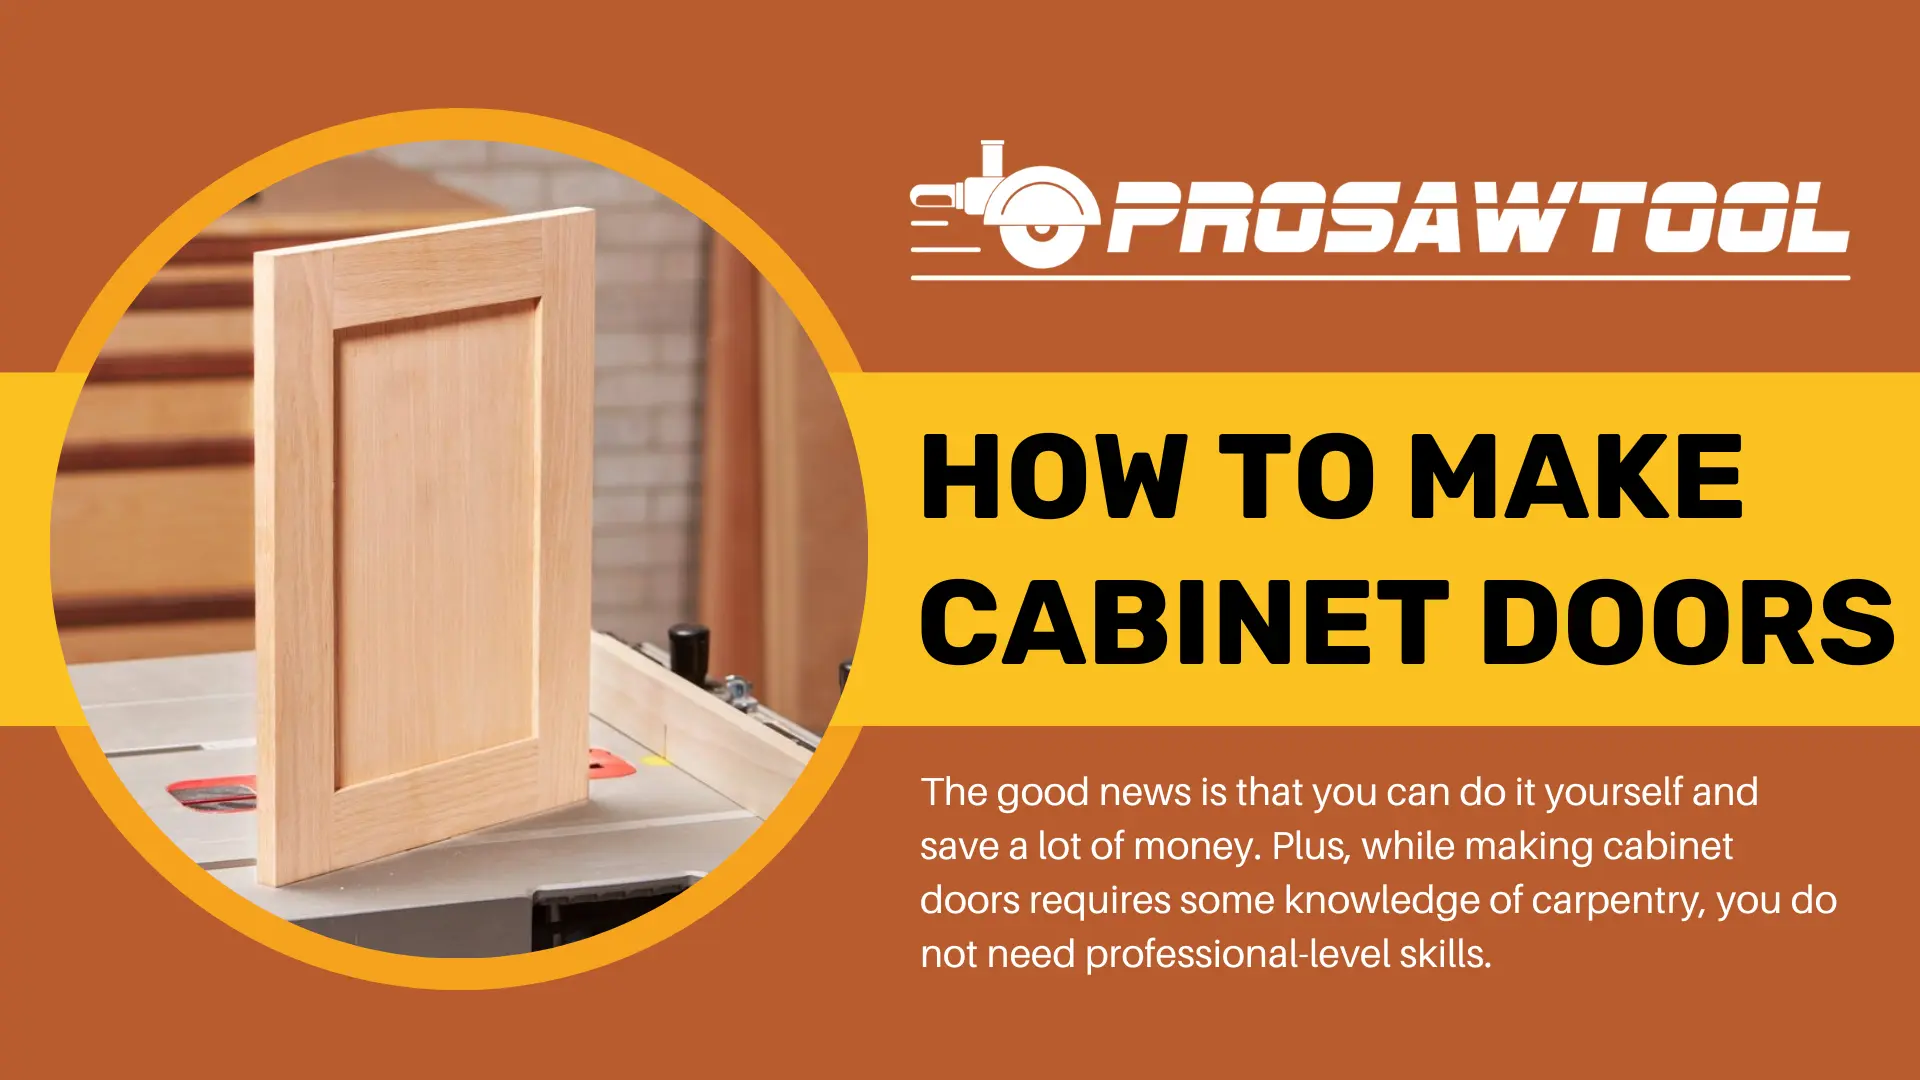
Plus, while making cabinet doors requires some knowledge of carpentry, you do not need professional-level skills. And so, below, we are going to be explaining how to make a sophisticated-looking shaker cabinet door step by step.
How To Make Cabinet Doors
Choosing the Right Wood
The first thing to consider while making a cabinet door is to choose the right type of material. And while you can use scrap plywood to do the job (if you have any lying around), if you are going to be purchasing some wood specifically for this, there are a few things that you need to look out for. The main one is the type of wood you will be using.
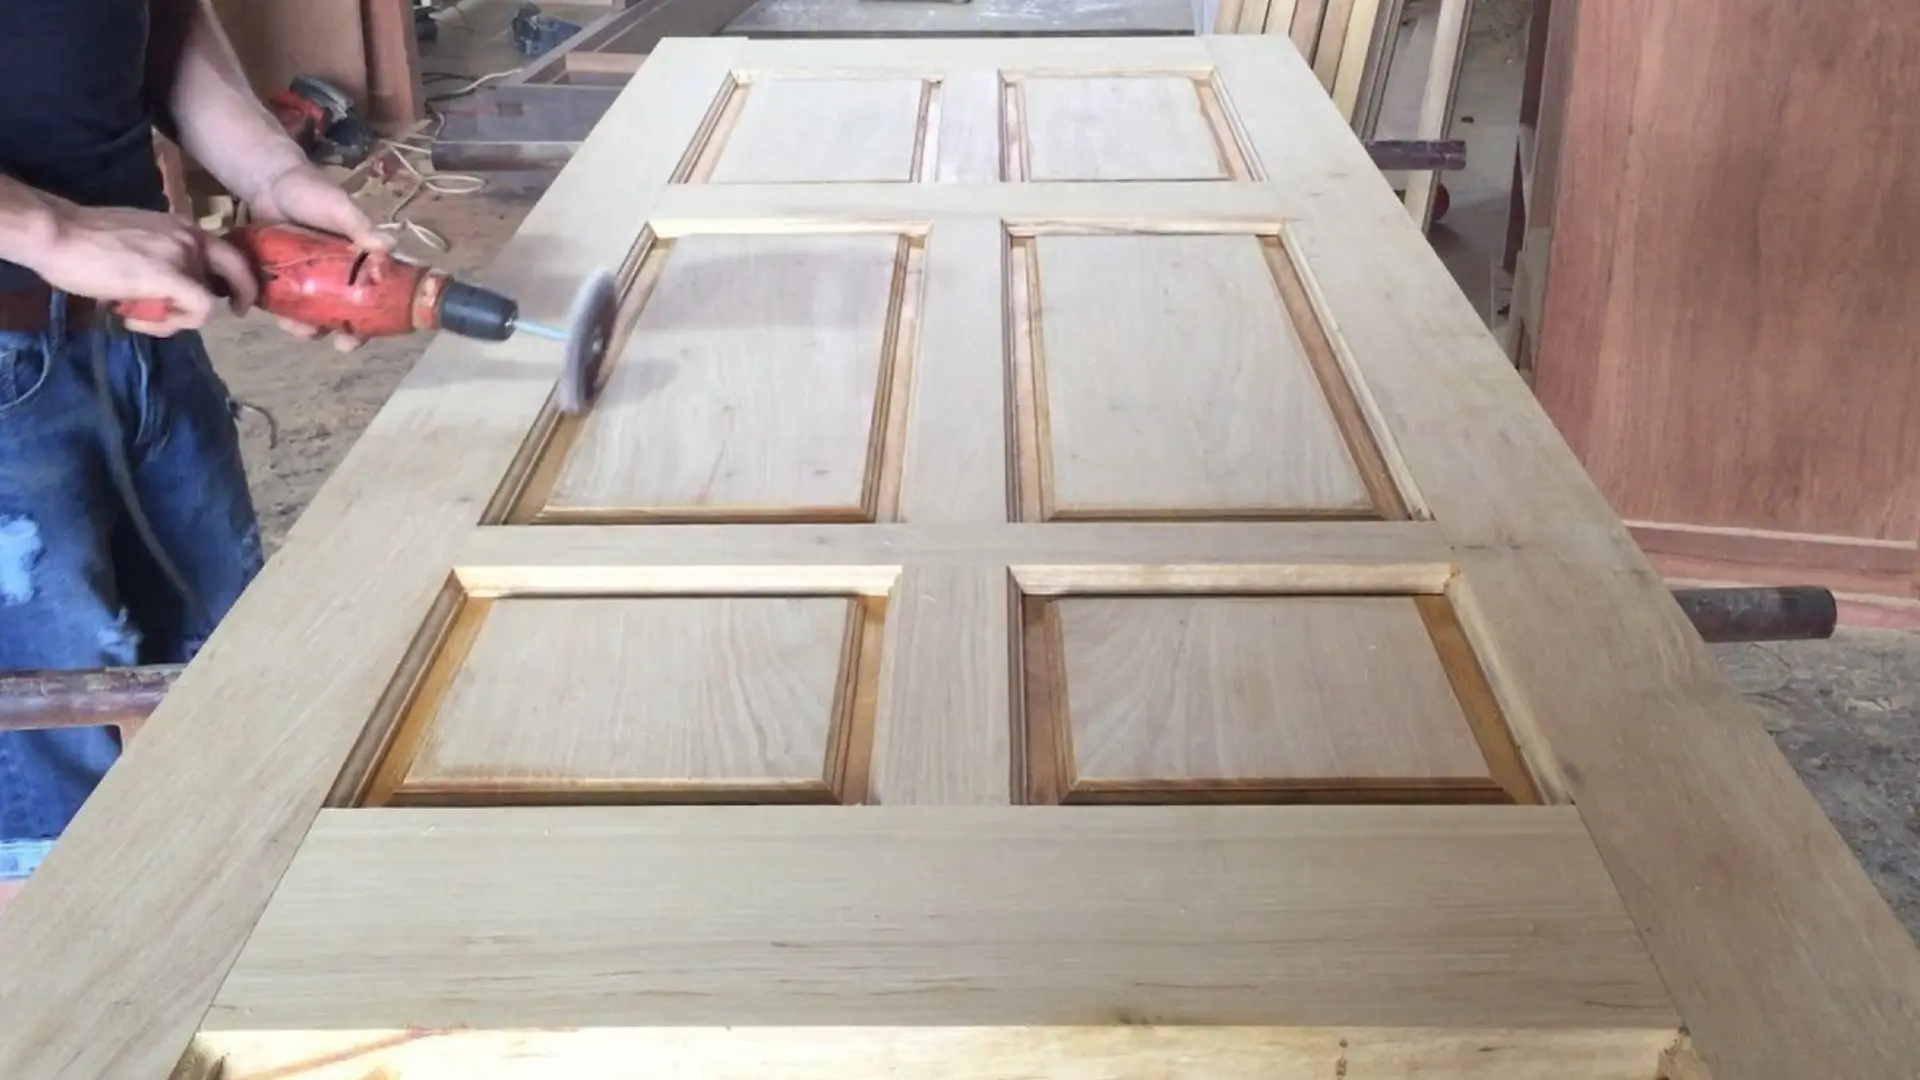
In our opinion, the best type of woods to make cabinet doors are Oak and Poplar. Both of these wood types take paint quite well, and so, you can paint them to fit in with the aesthetic of your house. But if you are looking for an inexpensive yet durable type of wood for your cabinets, then you should go for Poplar. But if durability and longevity are your main concerns, then you should go for Oak as it is stronger and a lot more durable than Poplar; however, it is also more expensive.
Be aware that you are going to be using this type of wood to make the sides of the door and give it its proper structure. And so, apart from this, you also need a different type of wood for the thin panel that you will fit in the center of the door. You can simply use plywood for this part. The important thing is that the wooden panel is around ¼ inch thick. This is because it is the component that will give the door its sophisticated 3D look.
Measuring and Cutting the Different Parts of the Door
Once you have decided on the appropriate wood for your cabinet doors, the next step is to take the proper measurements so that you can accurately cut out the parts for your cabinets. But for this step, you need to be familiar with the different parts of a shaker cabinet. Basically, it has three parts, the rails, the stiles, and the central panel. The stiles are two rectangular panels that make up the left and right sides of the door.
The rails are the panels that make up the top and bottom of the door. And the central panel, which is the widest one, resides in the middle and makes up the center of the door. And so, to measure out each of these parts, you need to first measure the length and width of your cabinet. The height of the cabinet will equal the length of the stiles. Although, we recommend that you add an extra inch or so to be on the safe side. The width of the stiles, however, depends on how thick you want them to be. Next, you need to measure out the rails.
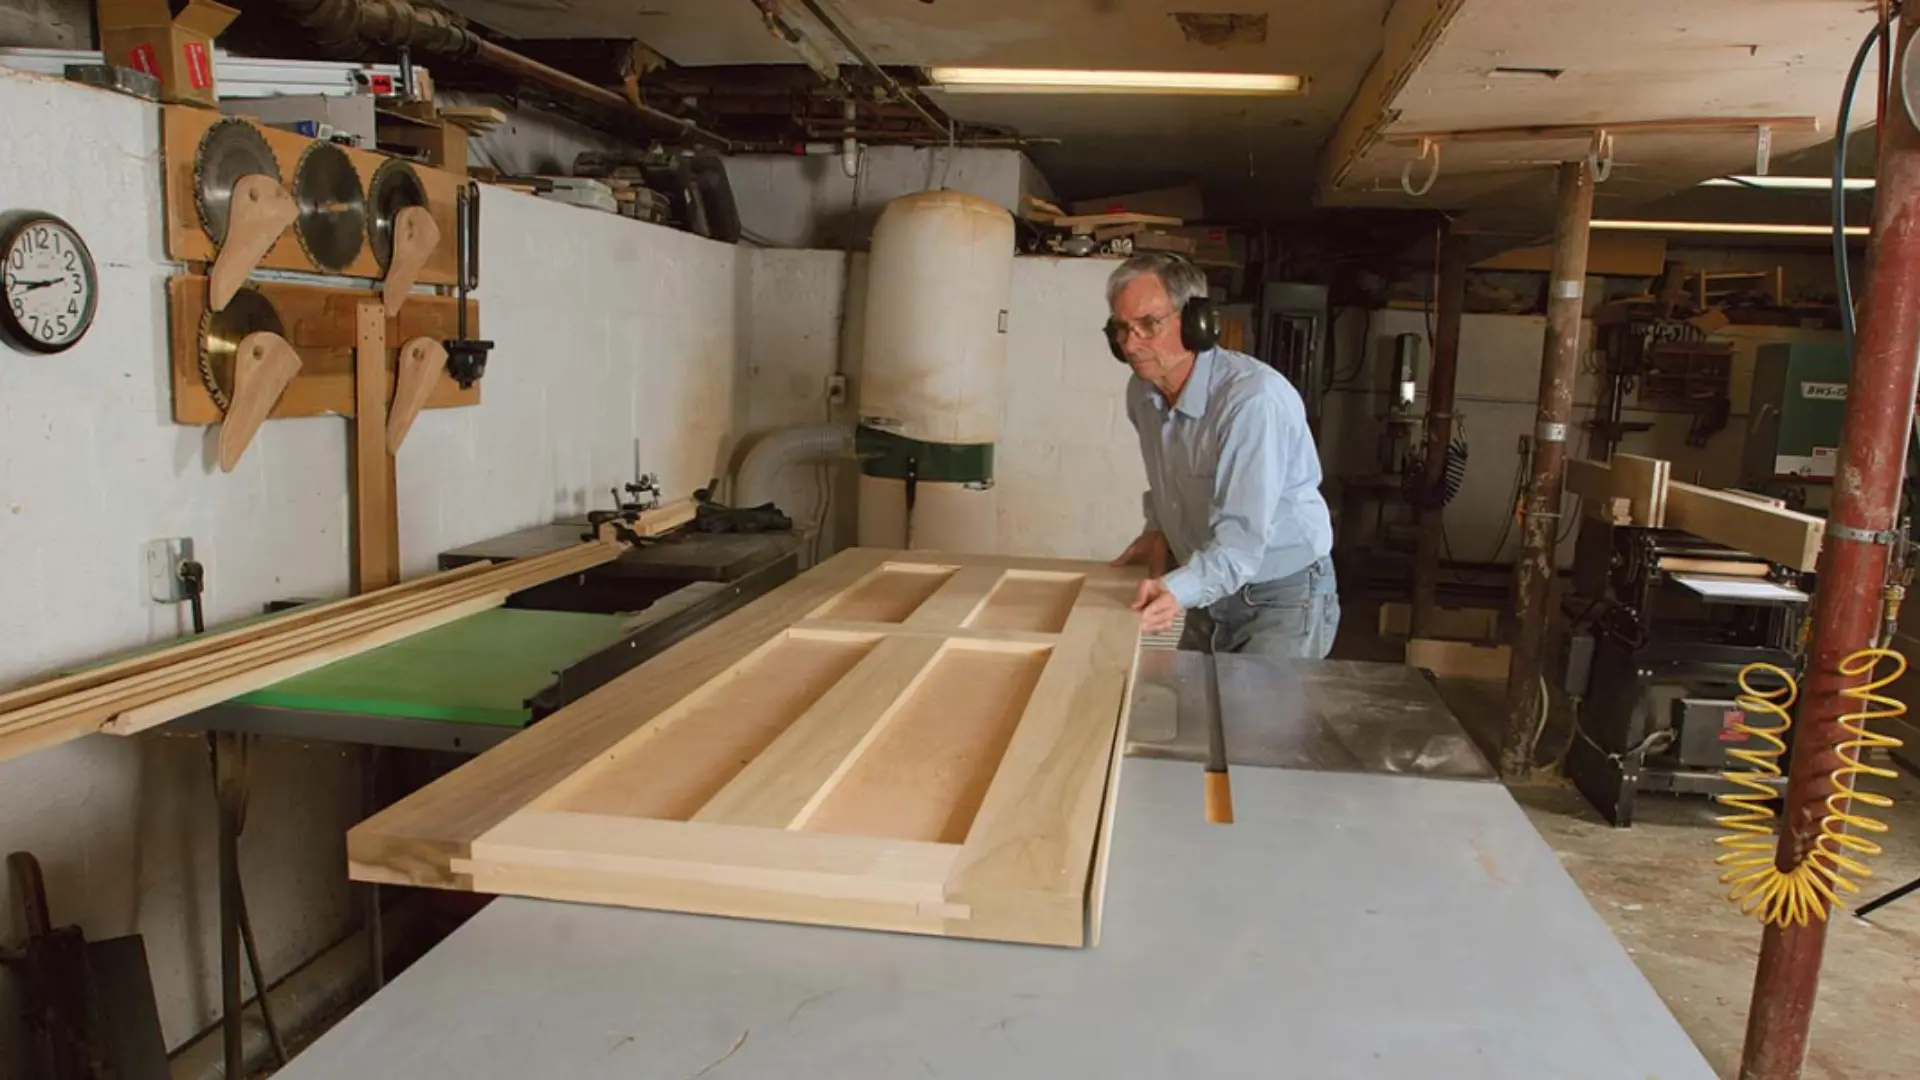
Their width would be equal to the width of the cabinet after subtracting the width of both of the stiles from this measurement. You also need to add an extra inch on either side to make sure there is enough space for the Mortise and Tenon joint. The height of the stiles again depends on your personal preference. You can measure the central part once the sides have been properly assembled. Once you have all the measurements, it is time to cut the different parts of the cabinet. You can do this using a table saw.
Making the Joints and the Inner Grooves
After you have all the pieces cut, you need to make the Mortise and Tenon joint that will connect the stiles with the rails. Along with that, you also need to make the groves inside the rails and the stiles so that the central panel can fit into them. For this step, you need a router cutter with the tongue and groove router bits. First, select the groove router bit and make a ¼ inch groove on the sides that are going to be holding the central panel of the stiles and rails.
Once that is done, try to fit the wooden sheet for the central panel in each of them one by one. If the grooves are wide enough to fit the central panel perfectly, you can move on to making the mortise and tenon joints on the ends of the sides. The stiles will already have the grooves that you need for the joint from the previous step. All you need to do is make the ‘tongues’ or the Tenons on the rails. For this, using the tongue router bit, cut out the tongues on either end of both of the rails. Once that is done, try to fit the rails in the stiles. If it fits then you can move on to assembly.
Assembling the Door
Before you can start assembling, you need to first cut the central panel to a size that will fit well into the sides. For this, you can fit the sides together and then measure the length and the width of the space between them. You can then add the height of the groves in each of the sides to the measurement. When you have the measurement accurately marked on the plywood, cut it to the appropriate size.
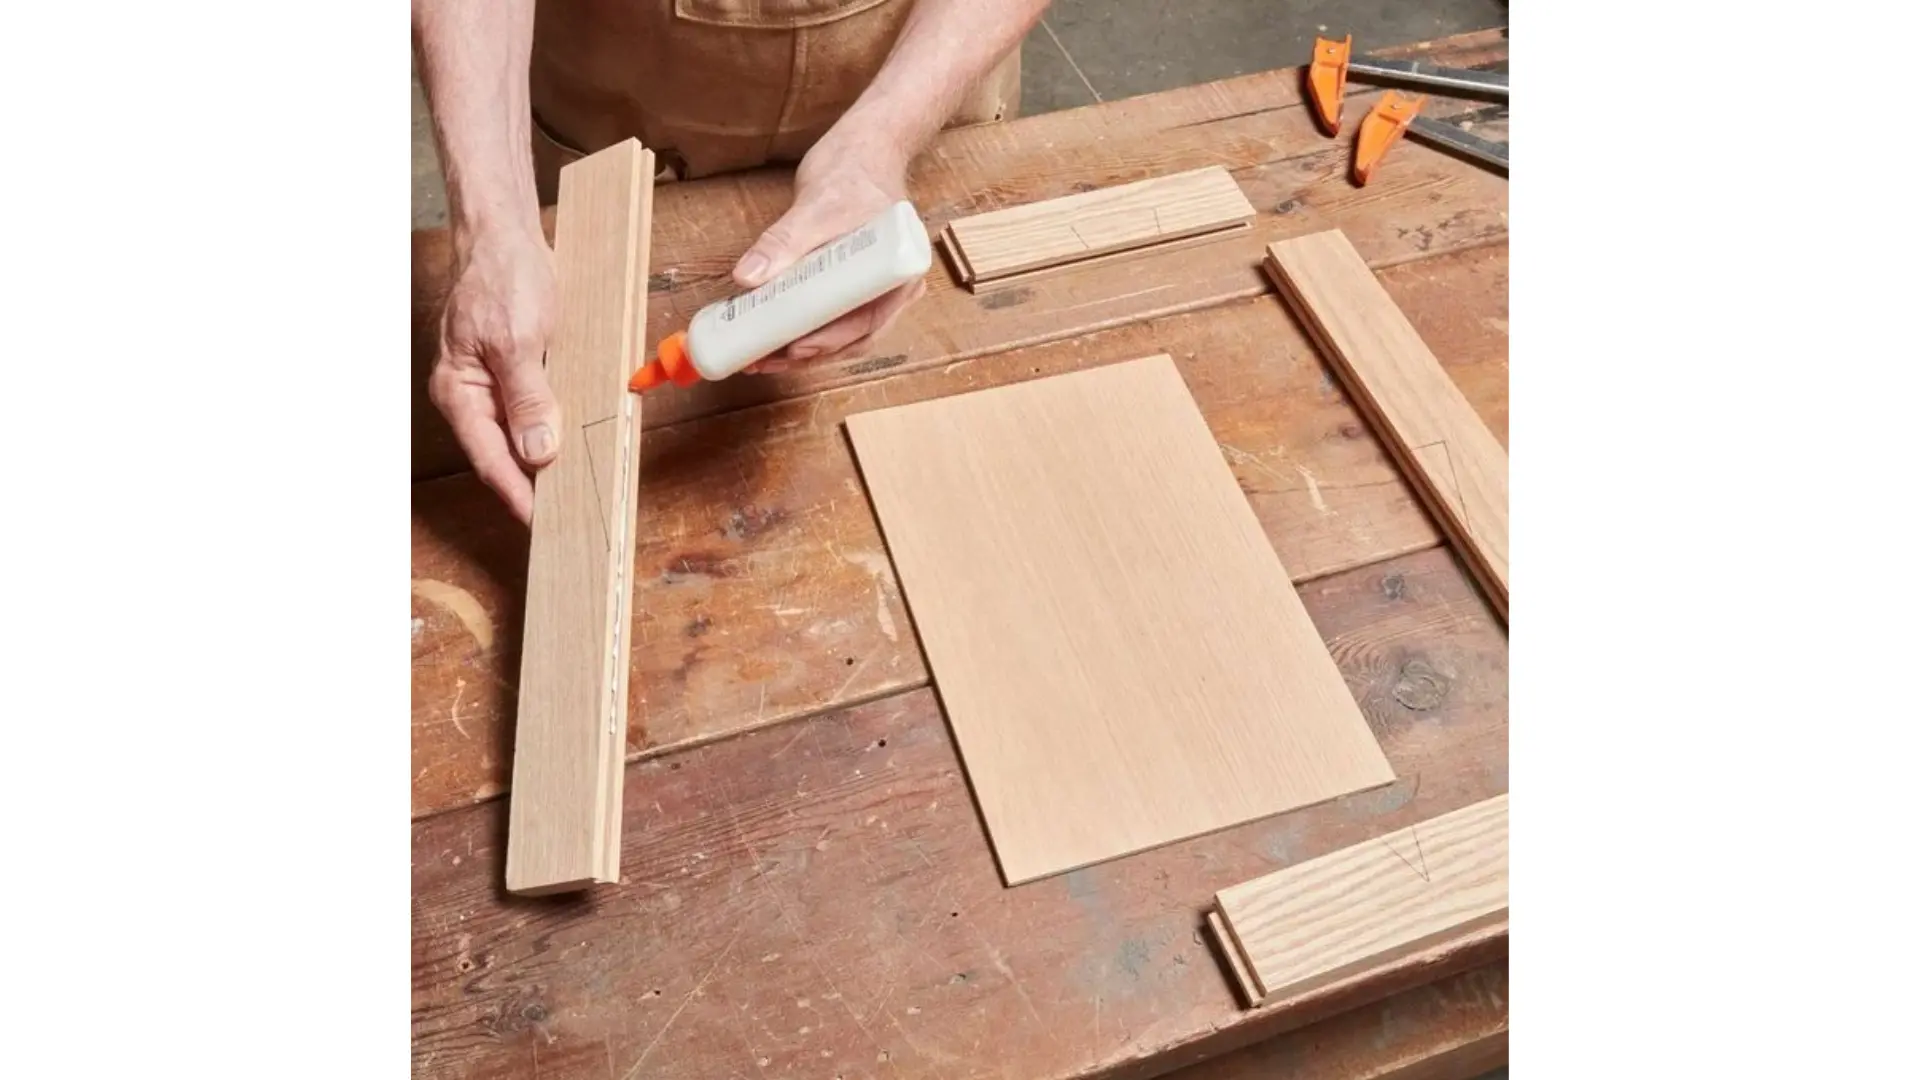
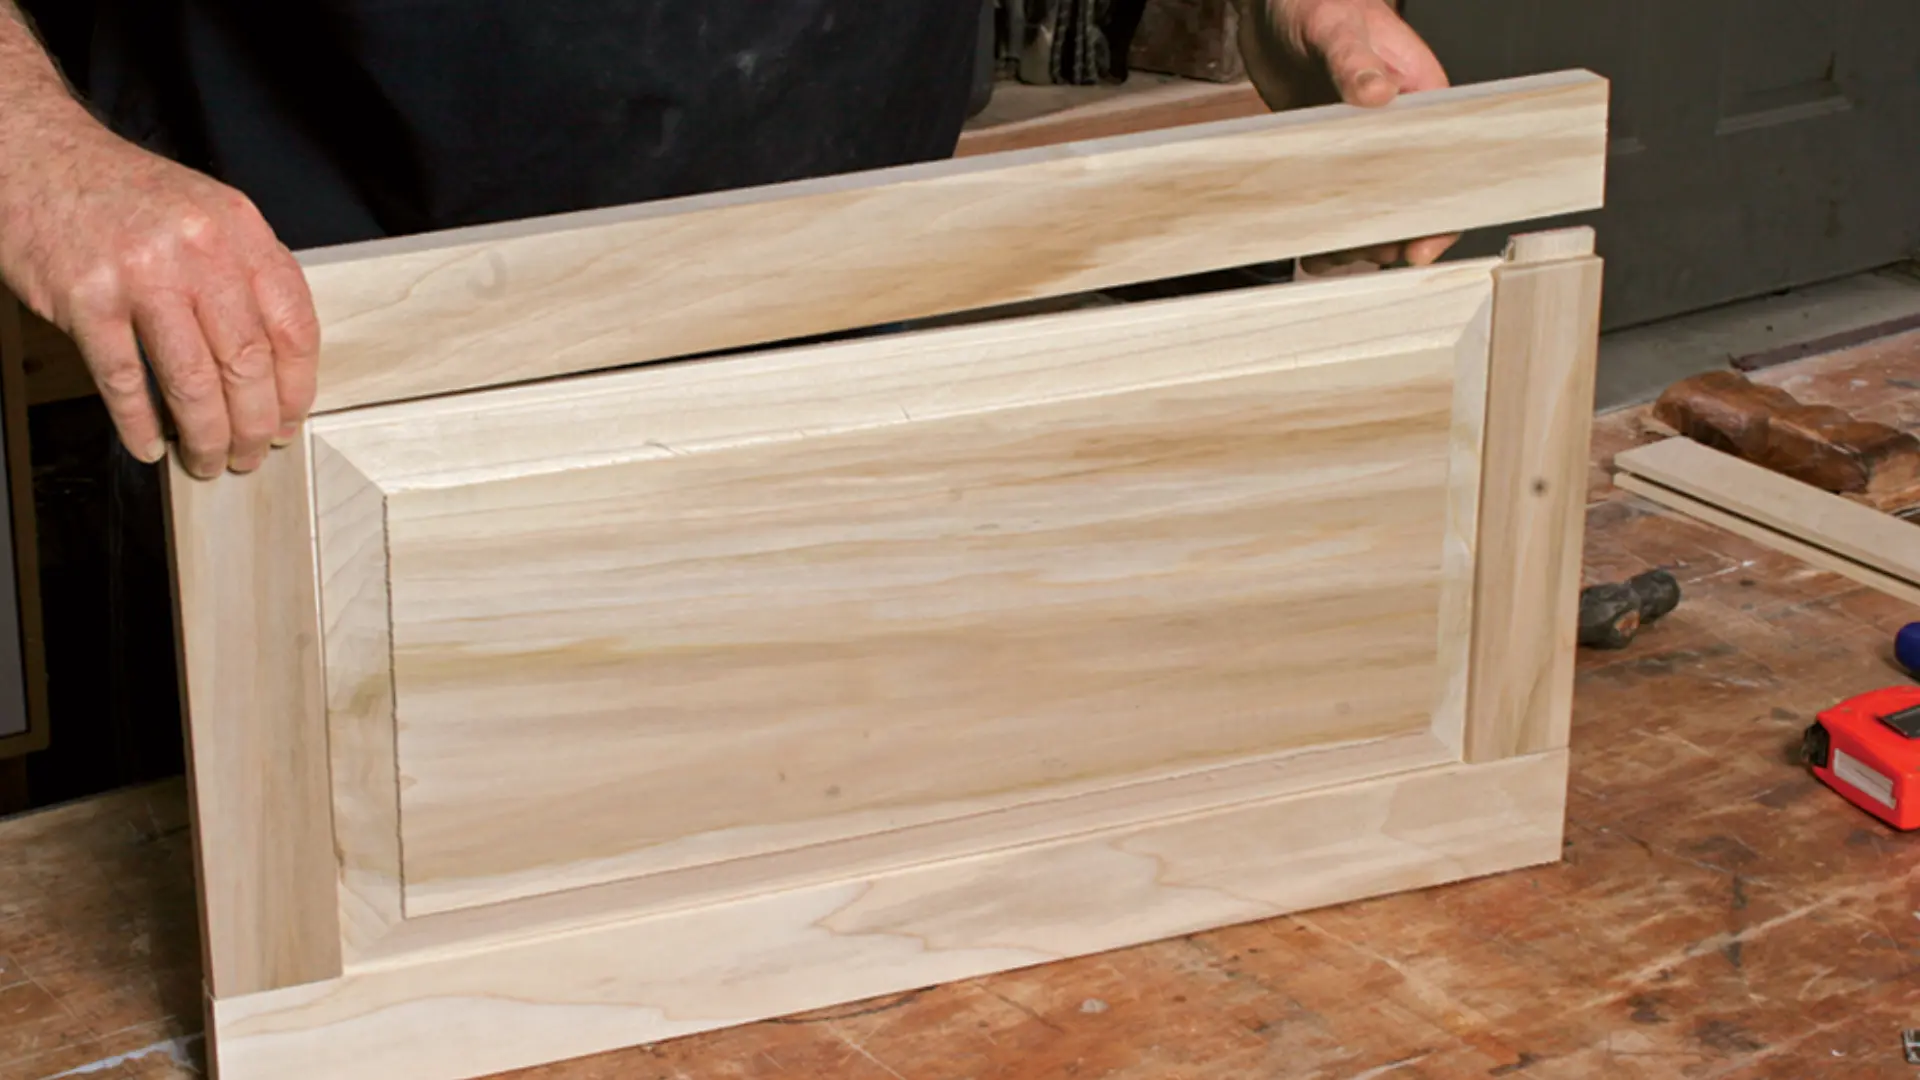
After this, you need to fill all of these pieces together one last time to check if they all fit well or not. If they fit well, then you can proceed to actually glue them together permanently. Using a brush, apply the glue in the groove of one of the stiles and one of the rails. Now fit these two together and fit the central panel into their grooves. Once that is done, brush glue into the groove of another stile and fit it with the panel and the other side of the rail.
Lastly, brush glue into the groove of the remaining rail and fit it with the rest of the parts. Now you are ready to apply a finish of your liking to the door. After this, you can attach a handle as well as hinges. And you are done! You now can go ahead and attach this door to your cabinet and enjoy the satisfaction of seeing your own creation decorating your house.
Frequently Asked Questions
Is it cheaper to make your own cabinet doors?
Yes, it can be cheaper to make your own cabinet doors if you have access to the necessary equipment. Also, you need some knowledge in woodwork and carpentry to be able to make your own cabinet doors. This is because, although it is not a difficult process, if you do it wrong, you would be wasting quite a lot of wood, as well as all the time that you have invested in the process.
How do you make cabinet doors with plywood?
Yes, you can make cabinet doors out of plywood. This is because you can make cabinet doors out of most types of wood out there; it just needs to be strong enough to withstand daily use and not dent easily. And plywood is dense and strong enough to not dent or break easily. Furthermore, it is also relatively cheaper than many other wood types that can be used to make cabinet doors.
Wrapping Up
Making your own cabinet doors from scratch can not only save you some money but can also give you an amazing sense of accomplishment. And the best part about these doors is that they are simple enough you do not need to be a professional carpenter to make them. You just need some knowledge and experience with woodwork, and you can make them without a lot of issues. And so, the above article shows you how to make simple yet gorgeous cabinet doors that will look great in any house.