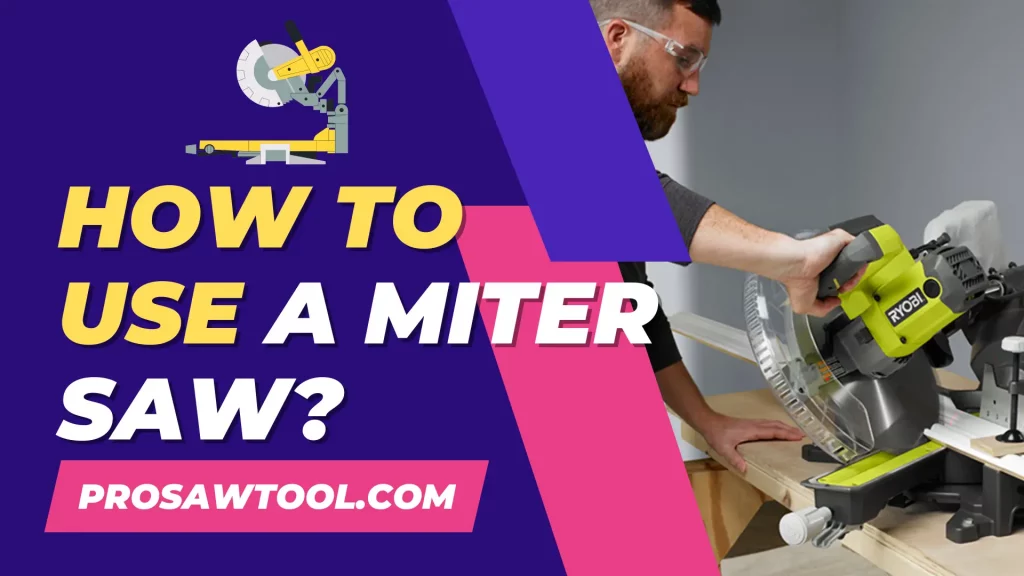
How To Use A Miter Saw? Tips & Safety 2024
Have you ever wondered how straight and curved, complicated cuts are made in furniture products? Let us explain the phenomenon behind the mitered accurate cuts made in the decoration of furniture. Miter saws are the basic equipment used for trimming and cutting methods. It is a heavy and huge, sharp, powerful blade. This consists of a motor that will spin a highly sharp blade.
Miter saw is a compulsory tool for every carpenter. You can’t move on without a miter saw in the field of carpentry. Regular cuts, molded cuts, curved cuts, straight cuts, door trims, and many other functions can be performed by this miter saw. They work quickly and efficiently and are handy tools for minor homework and DIYer. Here are the best miter saws along with buying guide.
The use and precautions vary differently for every type of miter saw. Every type of saw operates differently and needs different maintenance procedures Every type has its properties and functioning. They do have a manual with them which tells us how to operate the miter saw. But the general, more basic description of usage is very easy even for beginners. The procedure of using a miter saw is explained here.
How To Use A Miter Saw?
Here is detailed information on how to use a miter saw to make you comfortable and confident while using this sharp blade.
1. Marking The Cut
Take a pencil and the board where you have to cut. Mark the cut taking proper readings and calculations to make sure you are going to get the best cut and exactly what you need. Mark the cut keeping the width of the blade in mind. After proper marking, locate your marked wood piece opposite the bar, which is located at the back of the saw.
Ensure to carefully measure the mark, recheck it and confirm that you have marked accurately. Because after the final cut has been made, you wouldn’t be able to change any measurements.
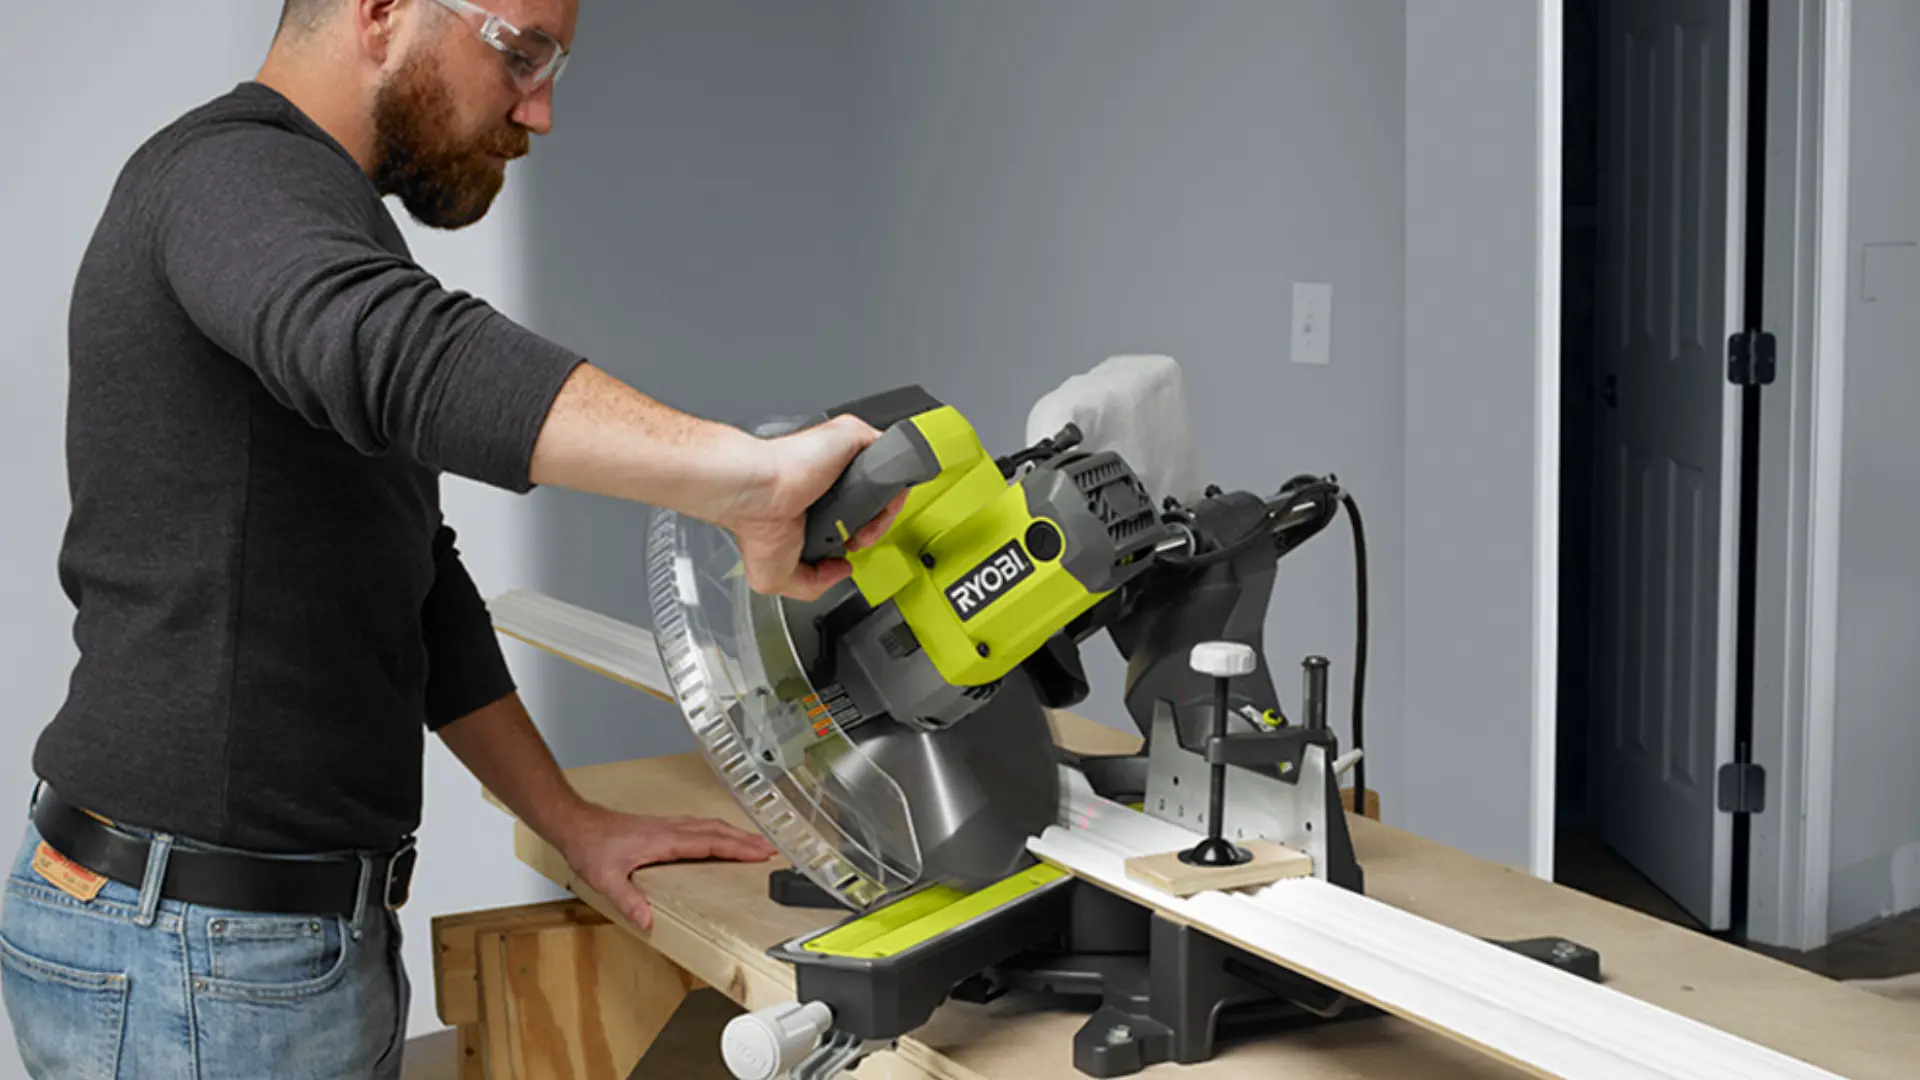
2. Tighten The Clamp
After positioning the wood piece onto the saw. Make sure you have positioned it well. Fix the clamp to 6 inches from the blade and make sure to tighten it until it gets completely foxed and tight. This device is handy and is highly recommended for the protection of your hand. It ensures that your hand is away from the blade. Secure the blade to get safety for your hands.
This would be more easier and protective if your saw already has a small knob that could easily be tightened and loosened depending upon the need. Most saws have this knob which usually comes fixed with a saw.
3. Angle Adjustments
Now it’s time to adjust the angles of the cutter to get the exact accurate cuttings you need. There are two types of directions of the angle adjustments, horizontal and vertical directions. Saw’s vertical angle is known as a bevel whereas the saw’s horizontal angle is known as a miter.
Get the directions of the manufacturer and mark the required adjustments on both bevel and miter. If you have to use the saw without miter and bevel measurements, mark angles of both of them at 0 degrees. Depending on your project and its requirement, you can adjust the measurement of one, both, or none of the angles.
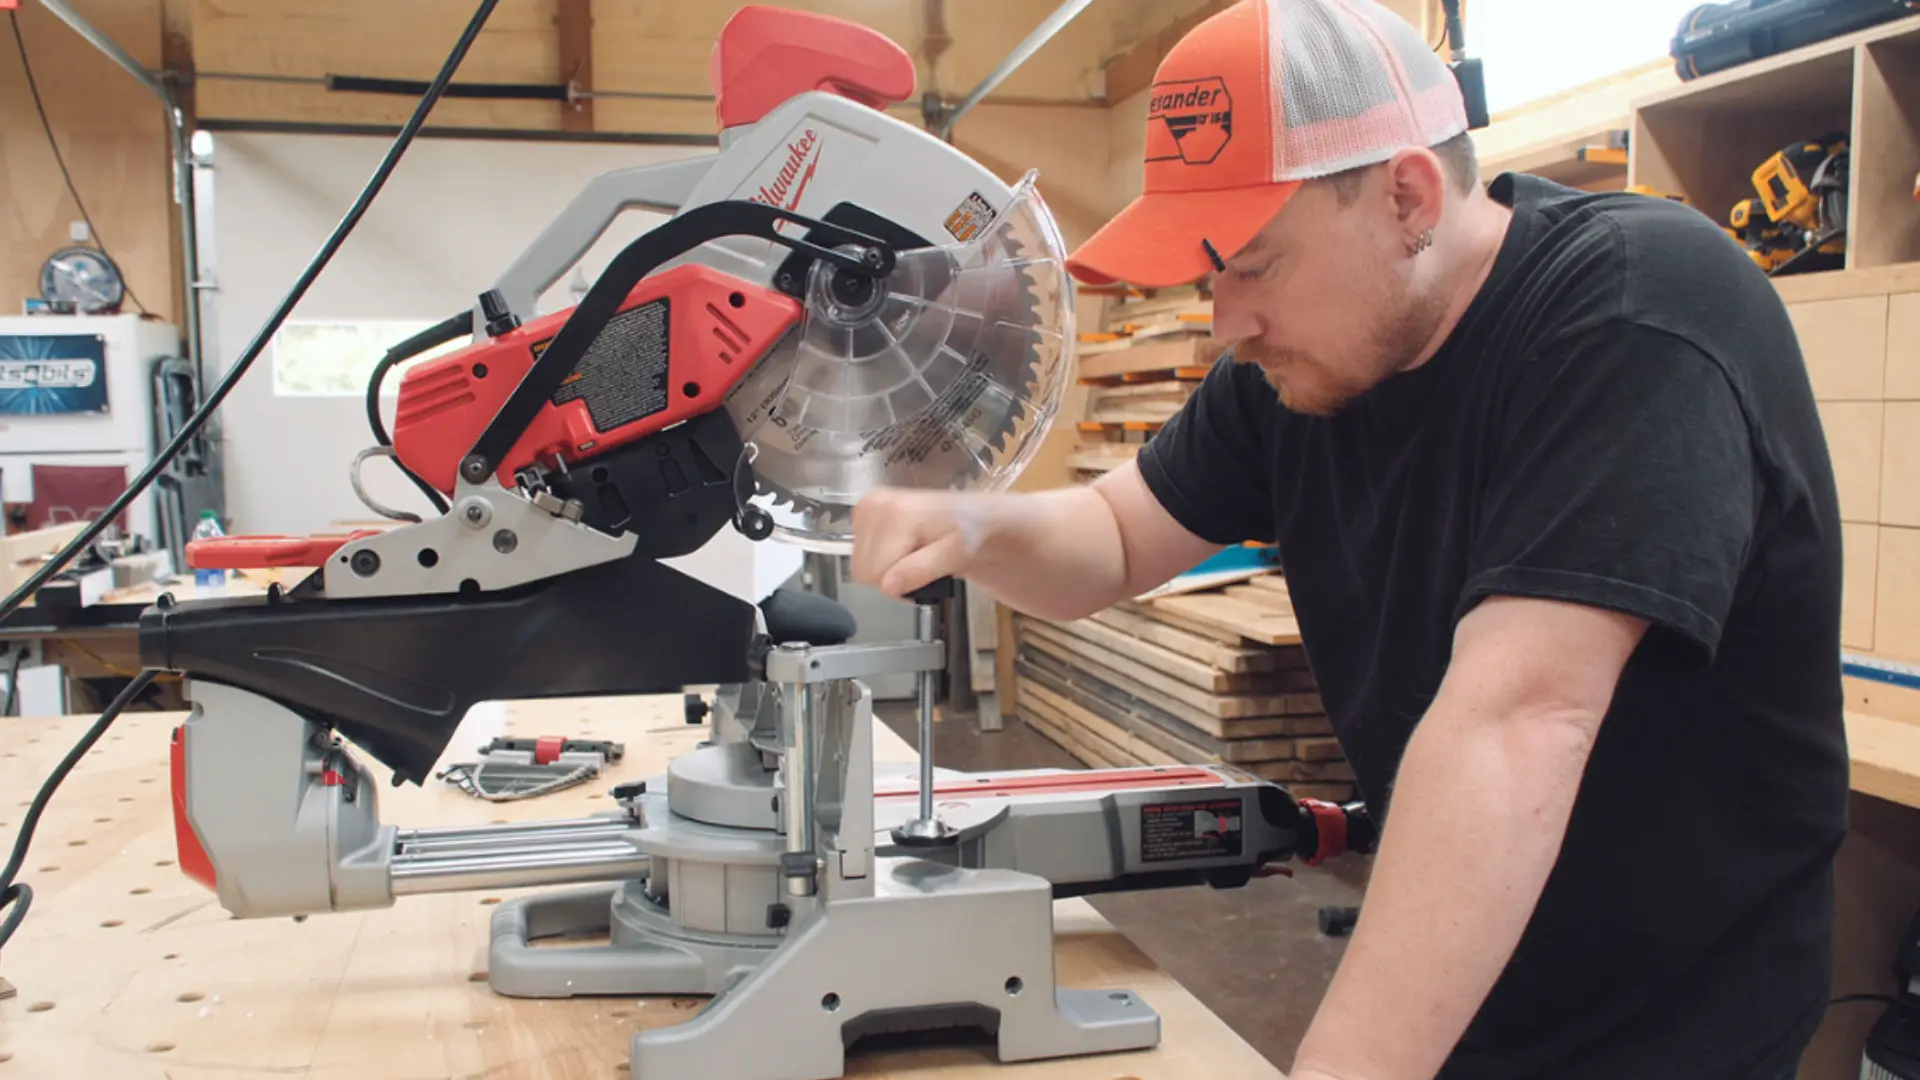
4. Turning On The Saw
After careful setting of the saw’s angle, re-check it and get ready to turn in the miter saw. Grip and press the trigger to turn the machine on. When the machine is on, you will hear a big sound which gradually increases up to the highest level. Wait until the blade reaches its full speed.

Make sure to stay at a safe distance while operating the miter saw. It could be dangerous for you if you work inattentively.
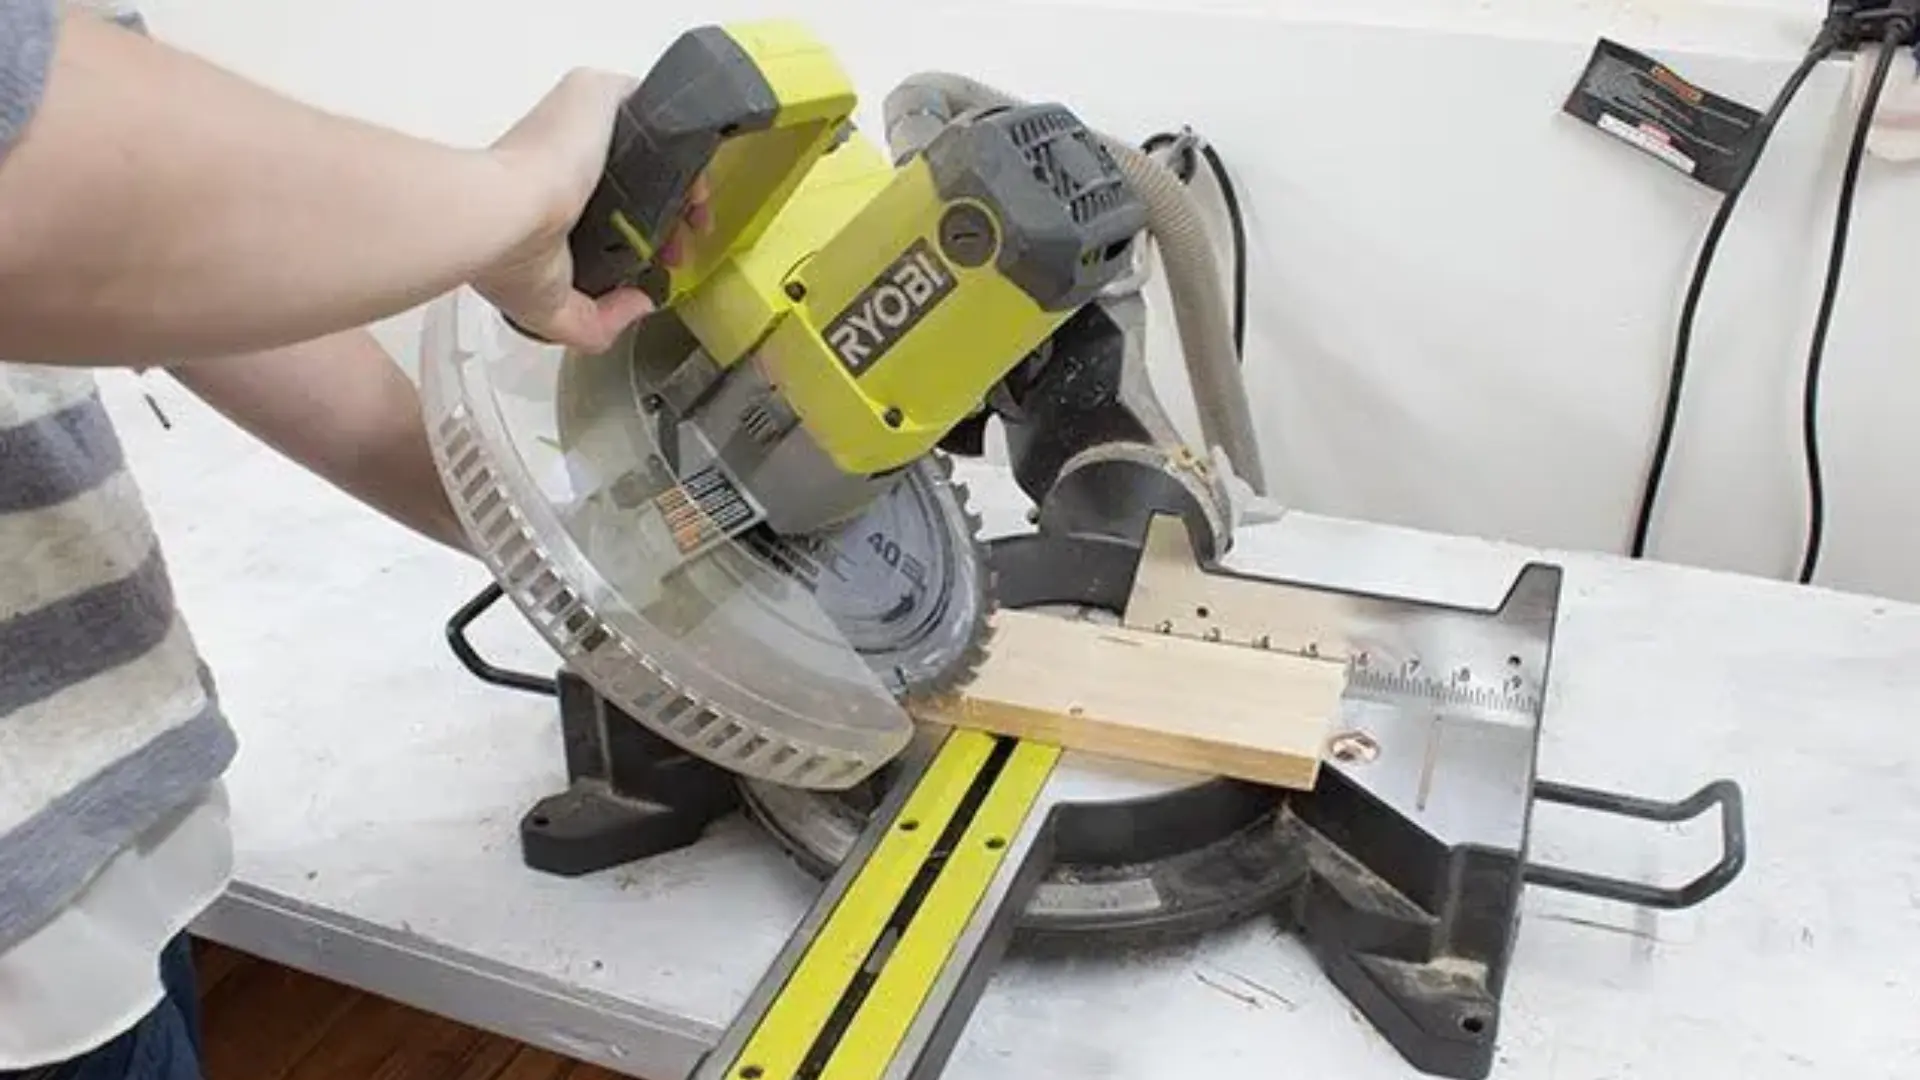
5. Initiate Sawing
When the machine reaches its highest speed, start cutting the front and move towards the back. In this way, the spin of the blade will not move back. Cut the board all along the marks you have made earlier with a pencil. Finish the cutting of the board and turn off the trigger. Do not move the blade until it completely stops. Make sure the blade comes to a complete stop before moving it away from the board.
6. Bevel Cut & Miter Cut
To make a bevel cut, make sure to lock the miter gauge at a 0° angle and unlock the bevel cut. Many of the saws do consist of detents to fix common angles that are normally 0°, 33.9°, and 45°. Customized angles according to your need can easily be set by using locks in between the detents.
For the Miter cut, you need to unlock the miter gauge and move it to the desired angle. Same as the bevel cut, many saws have detents to fix common angles, this naturally fixes the sawin its accurate place. Detented angles are 0°, 22.5°, 31.6°, and 45°. This will help to select the angle whereas you can also select the customized angle of your needs.
Safety Tips to Use a Miter Saw
Follow the above-mentioned procedures and make sure you are also maintaining all the necessary safety measures that are mentioned below to keep yourself safe and secure.
- Keep your focus in your hands. And control their movement.
- Take care of your eyes by wearing some eye protection to avoid anything entering your eye.
- Make sure not to wear loose dresses when using the machine, they may get into the blade and cause severe damage.
- Use the miter saw with your full mental attention towards the machine and ensure you are practicing safe working.
- Keep the machine away from children to ensure their security
- Do not let older people operate the miter saw, as they can’t manage any abrupt problems.
Features of Miter Saw
- It is used to make big wooden gates, doors, and small windows.
- It works best for furniture and making angles and changes in the designing of the furniture.
- It makes working with small wooden pieces easy.
- It makes work faster and efficient.
- Fences are also trimmed with the help of this miter saw.
- The easiest operating wooden cutting tool for beginners.
Frequently Asked Questions
Are miter saws safe?
Any electrical device is not safe until it is used with all the attention, care and, understanding. Make sure to learn about all the necessary instructions and the safety tips mentioned to use the machine accurately. It will decrease the ratio of harm if used properly.
Can you put a miter saw on the floor?
It’s not very difficult to put it and use it directly onto the floor. But the most difficult part would be handling the board, which we want to cut, on the floor, in level and fix its place. It is not recommended to use the miter saw on the floor but it can be used if there is no other option available.
What to put a miter saw on?
It would be best to put it on some workbench in the specific area made for your miter saw like a plain bench or a heightened stand to make it easier and more comfortable for your use. This would enhance its efficiency. Because fixing it on the floor is never appreciated unless it’s urgent.
Is a miter saw easy to use?
Yes, easy to use tools, easy to operate and maintain. This is a nicer tool for carpenters, Diyers, and even for regular usage at home to make minor changes and adjustments in the furniture or wood. This is said to be the easiest and the best tool for beginners. The miter is easy to clean after use.
Conclusion
Miter saw is among the easiest tools for the use of carpenters. It is the most important thing that is always needed whenever you have to amend some furniture product or you need to make a piece of new furniture for your home. It would be the most appropriate tool for you when you want to change a furniture product on your own. It’s a handy machine and is easily operable without any severe terms and conditions.
Make sure to concern the manual that comes with the machine. Learn it thoroughly and learn the process. Then make use of the machine. This machine has a very sharp blade that works for the cutting of the wood planks. Ensure your safety first. Make sure to protect your hands, clothes, eyes, and other surroundings while using the machine. Make attentive and careful use of a miter saw to get the best results.