How To Sharpen An Axe – A Detailed Guide 2024
If you have ever owned an axe, you would know that it dulls after a couple of sessions. This might be because the simple and highly useful utensil is expected to do a lot of work and goes through a very rough usage. But you can always re-use your axe after sharpening it, which is a whole lot easier than one could imagine and would take barely 15 minutes to do so.

It can be done in a number of ways, one of which can be done by hand. This entire process is very easy to perform. You might only require a couple of things to sharpen your axes like safety goggles, gloves, grinder, filer, hearing protection, and a dust mask. If you want to learn the said procedure, you have come to the right place. Scroll down to find out how to sharpen your axe without a lot of hassle.
Why Is It Important To Sharpen Your Axe?
As Abraham Lincoln said, “Give me six hours to chop down a tree and I will spend the first four sharpening the axe.”
While using an axe to split wood, you are supposed to raise it high in the air and swing it back on the log with full force. If the blade will not be sharp enough, it would require more force than normal.
This pretty much works like a knife where you might need to sharpen your knife every now and then to get your desired work done. If a knife is not sharp enough, it will require greater pressure to be exerted on it in order to make it work or not work at all.
And as many experienced chefs and cooks often say that a dull knife is way more dangerous than a sharper knife, it applies to axes as well. Please check out the best axes I have reviewed.
When Are You Supposed to Sharpen Your Axe?
Felling axes, hatchets, tomahawks, limbing axes and others need to be sharp to provide you with the result you want. Splitting axes may not require to be as edged but it would still need a little work done on it so that it can cut through the logs and woods without too much pressure.

Axe-sharpening should not take place once a year or annually. One should sharpen his axes at the start of the seasons like fall and winter or before any wood or log cutting sessions.
Run your fingers along the edges of the blade when you are cutting wood, stopping frequently to check its sharpness. A blunt axe can take a huge amount of toll on your physical health; hence it is important to check the tool often.
Preparations Needed For Axe-Sharpening
A pair of gloves on your hands whilst sharpening your axes are mandatory if you want to protect your hands from the nasty cuts and nicks that you can get if the axe is too sharp.
Thick gloves can make the process difficult and slow. Rather than wearing the thicker ones, use gloves that are made out of cotton or similar material, it will definitely work in your favour.
Other than that, if your utensil is rusty, you should clean it before sharpening it. You can do so with sand paper or a rust eraser.
You might need a respirator or a mask if you are working in an enclosed place. And if you are using the power tools to do the sharpening, add safety glasses and hearing protection to your list.
After this, you will be ready to go through the process safely.
Sharpening Of The Axe
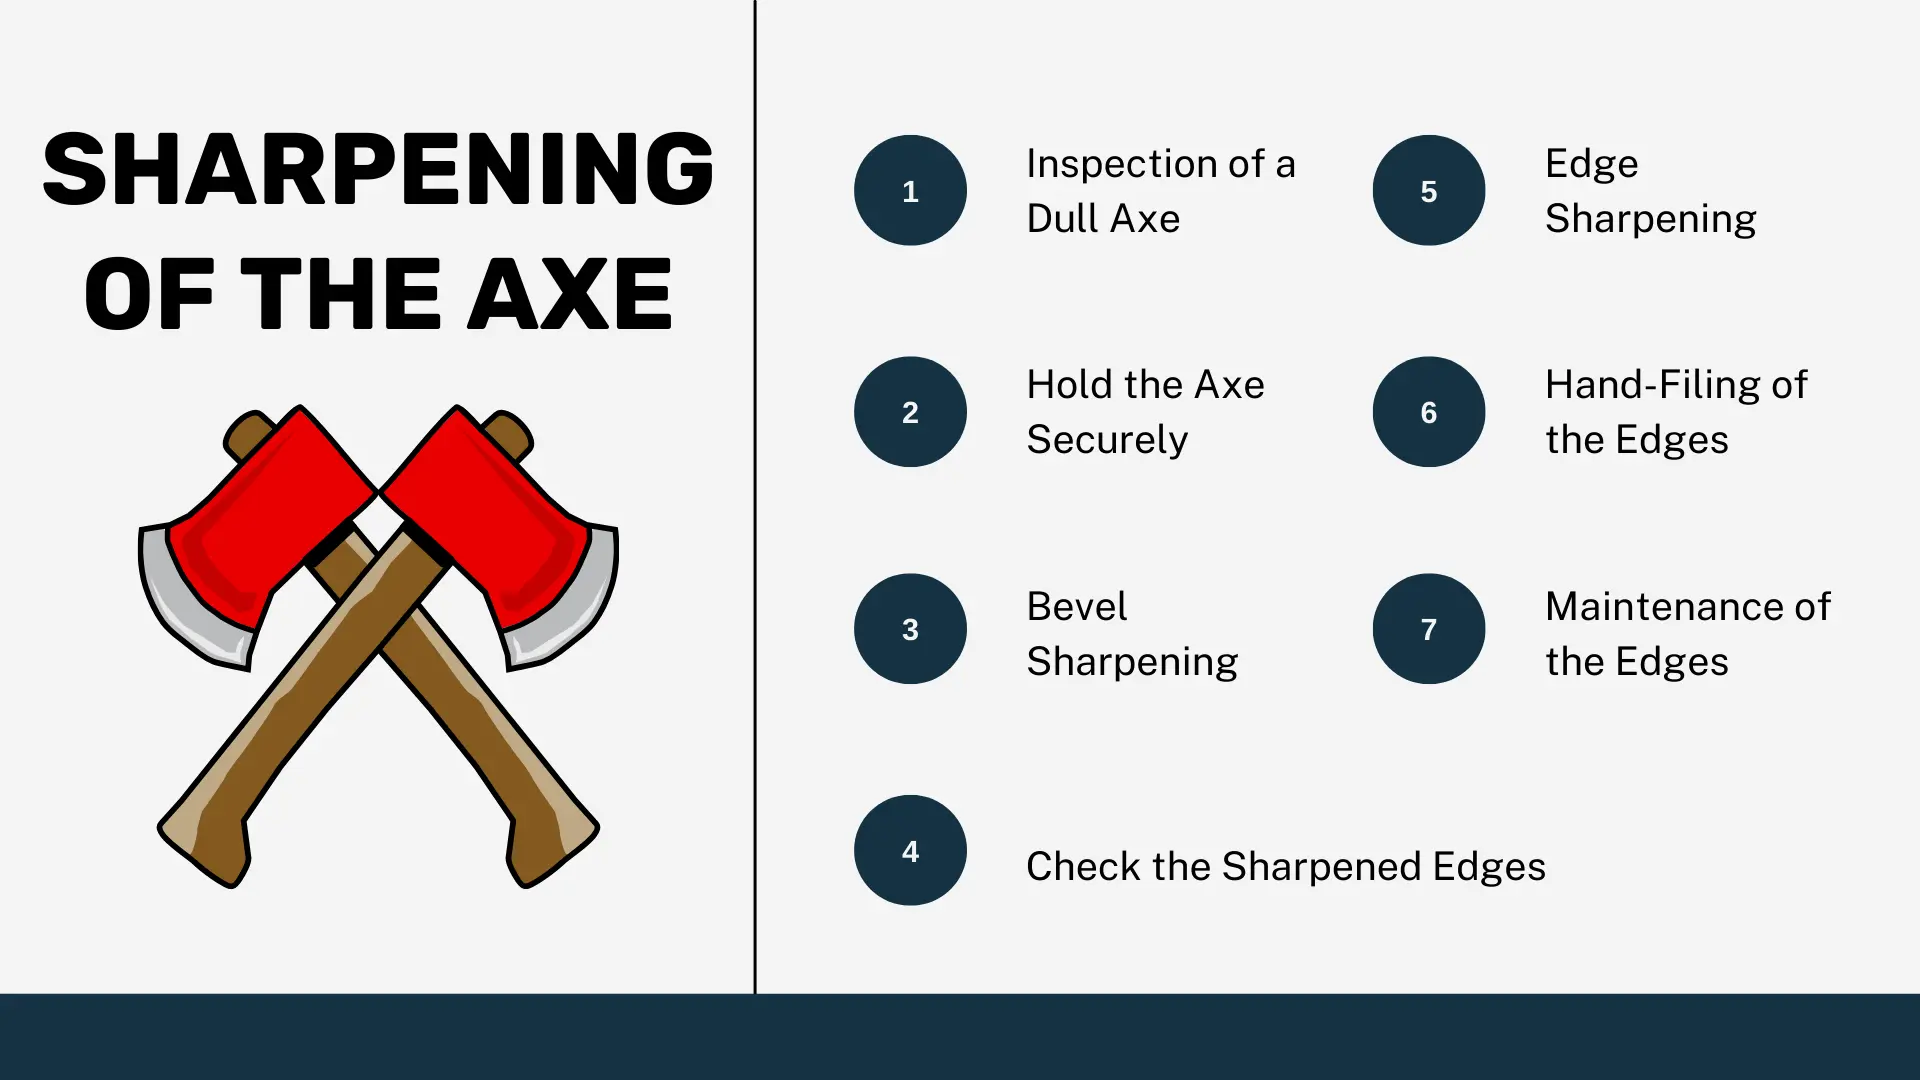
- Inspection of a Dull Axe: Dull axes are not easy to detect, very much like knives because even the dullest axe will perform its work if the force exerted is enough. Therefore, you need to check the axes visually to know if the axe is getting duller over time. By running your hand along the edges, you will find the surface smooth, and the edges can be spotted as humped and rounded indicating that it needs sharpening. Rust can also be found on it but even a sharp axe can become rusted if not taken care of.
- Hold the Axe Securely: To carry out the procedure, an axe needs to be secured wisely and in a firm, straight manner. The safest way to hold it can be done by a bench vise with access on both sides of your tool. If it does not have access on both sides, you can improvise by making use of two bricks, placing them along the sides of the axe-head.
- Bevel Sharpening: Use an angle grinder to grind almost half an inch down the edges. The edges will have a smooth bevel which will end with a sharp point. This needs to be done on both sides.
- Edge Sharpening: Continuing with the angle grinder, use it along with the corners of the axe, making an angle of 25 degrees. It will sharpen the edges. Repeat the said process again on the other side of the tool.
- Hand-Filing of the Edges: Use a Bastard file and begin your work from the upper part and gradually file downwards using your hands for filing.
- Maintenance of the Edges: To make a pointy edge of the axe, tilt the file on the point and start moving it back and forth and you get the result you need.
- Check the Sharpened Edges: The edges need to be very sharp and it should feel razor-sharp or as sharp as the corners of a paper is. If there are any gouges or nicks, run the axe through the grinder again until sharpened properly.
Conclusion
Isn’t it super easy to perform this process? With only a few minutes of work every couple of months, an often-used or well-crafted axe can last for a lifetime.
For upkeep, follow the given steps and you will be able to learn and perform the proper procedure with zero to no hassle at all.
We sincerely hope you learned what you were looking for, and also in the easiest way possible.