How to Cut Angles on Table Saw [Beginner’s Guide] 2024
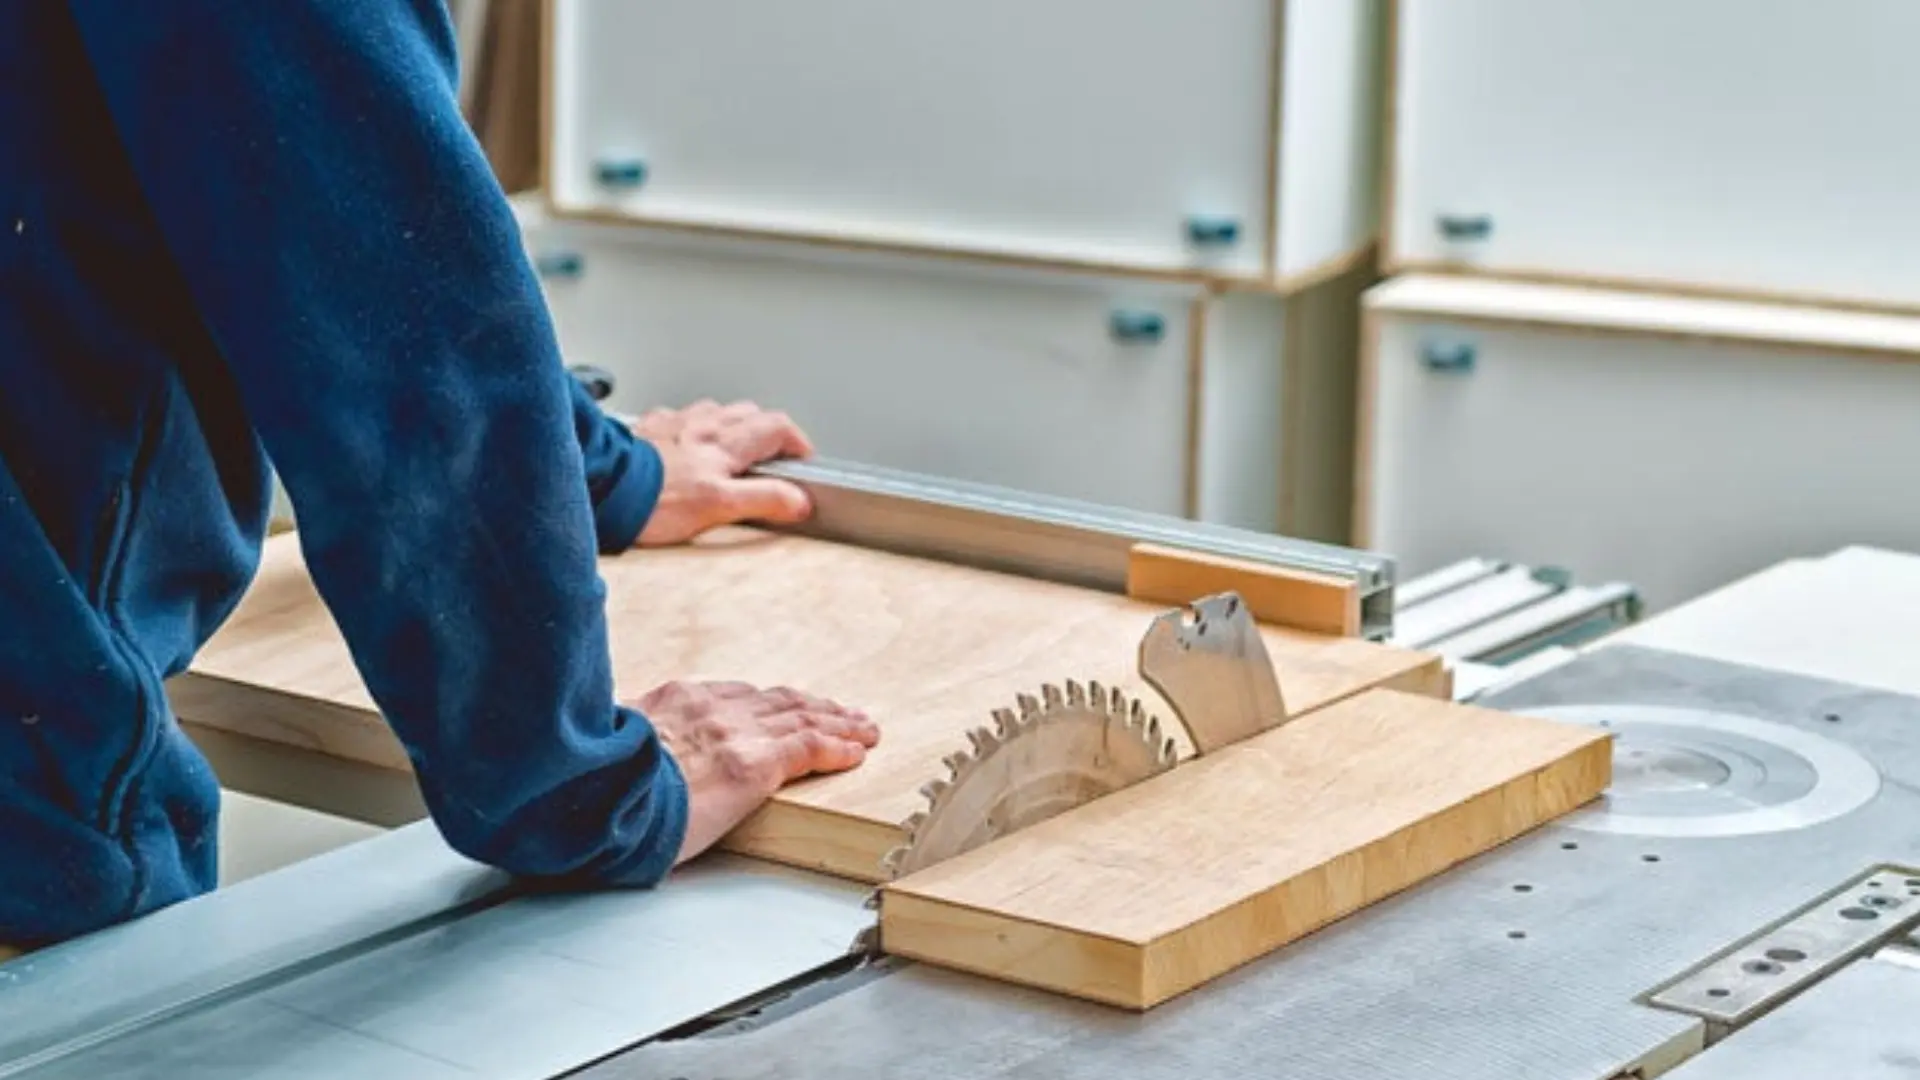
The table saw is a carpentry machine that every wood cutting expert owns. It facilitates a number of cuts that you’ll need to promote your project to the next level. Performing angled cuts can be a bit tricky at first as it needs good grip upon saw and precision in work.
Our article will guide you through an easy process to achieve the perfect angle cut to make your project a masterpiece. If you learn how to cut angles on a table saw, your cutting process can become easy and joyful for you.
Let’s move to the process
Cutting angles is a bit difficult and you cannot just place your board and have an accurate cut. Prior preparation is vital every time you wish for a perfect and safe cut.
How to Cut Angles on Table Saw
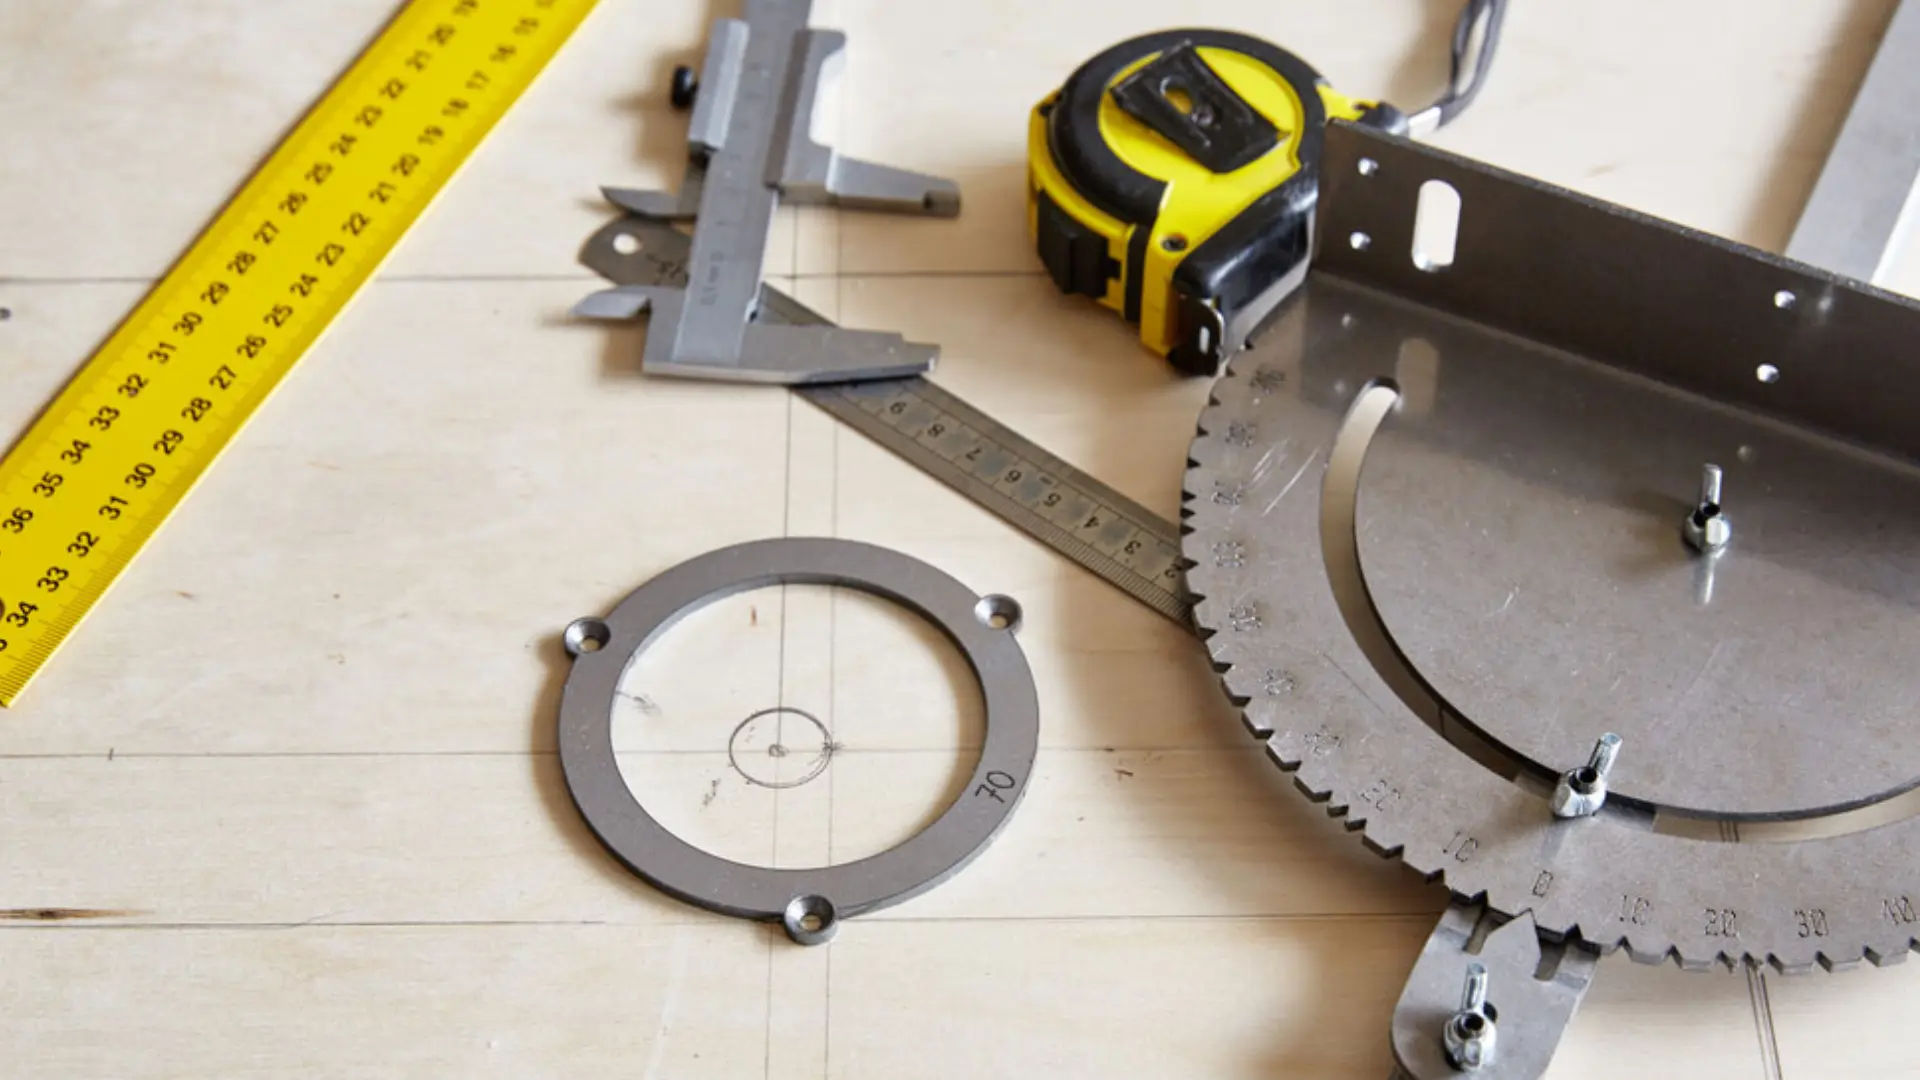
Tools/ instruments you’ll need
- Miter gauge: a tool that holds the wood at a set angle.
- Drafting triangle: measuring tool for drawing accurate lines at the required angle.
- Taper jig: holds wood in place while cutting angle lengthwise.
- Push sticks: These are safety tools that keep a distance between hand and blades reducing the risk of injuries.
- Measuring tape
Before you begin with the process, unplug the cord completely to avoid accidental running of the blade. Since your hand will certainly come in close contact with the blade, there’s a great risk of inviting injuries. To ensure safety, put of the machine as well as remove the cord.
Mark the angle
Using a measuring tape/ruler or drafting triangle to mark the angles with a pencil on the wood. Join the points with the straight and dark lines so it’s easily visible. Recheck the marked angle because you cannot adjust it once you begin cutting. Also check out how to cut a 60-Degree angle on table saw.
Adjust the saw blade
Loosen the adjustable crank to move the blade. Raise the blade to at least ¼ inches. To do this you can take scrap wood, mark ¼inches with the help of a measuring ruler, place it next to the blade and raise the blade height until it meets the marked line.
For straight cuts or rip cuts, the blade is raised about ⅛ inches, but this height isn’t suitable for angled cuts. The more teeth come in contact with wood, the more clean the cut will be.
If you are cutting lengthwise or want a bevel cut, use a taper jig. If you are making a cross cut you’ll need a drafting triangle.
Crosscut
Place miter gauge against one flat side of the drafting triangle. Note the markings. Keep the miter gauge and drafting triangle together and move the triangle. Miter gauge will automatically point towards one angle. Once you attain the desired angle, lock the miter gauge.
Bevel cut
Place the taper jig on the opposite side of the fence. Place the jig in such a manner that the side of the wood and side of the jig is pressed together. Open the jig and set the wood in the right position. Using a ruler measure the distance of both points, from the wood piece to the jig. The distance has to be the same, if it’s not, make the adjustments again.
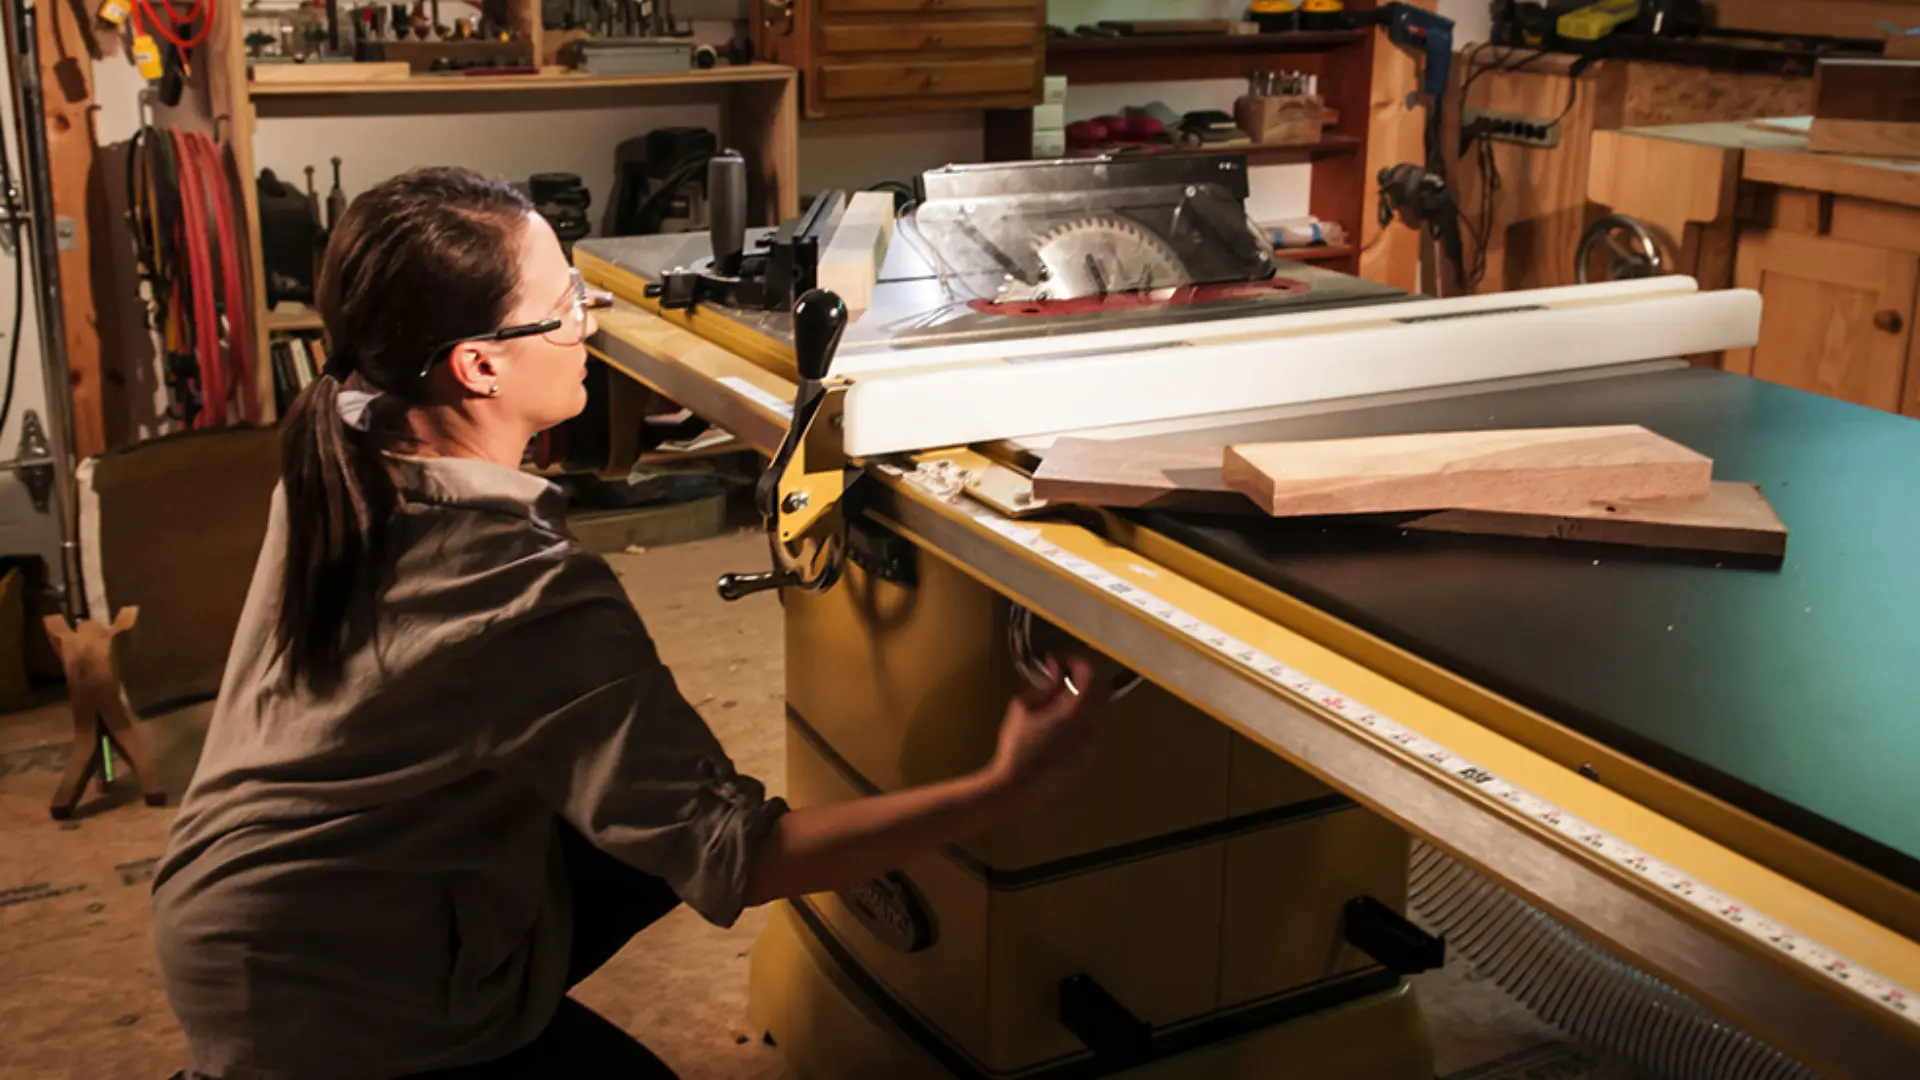
Place the wood on tabletop
Always use the fence to attain a good grip on the wood. It helps you control the wood by holding it in right place. Moreover, it also keeps a distance between your hand and blades for safe cutting. It is advisable to use scrap wood as a fence as even it gets cut with the wood, there’s no worry.
Before proceeding towards the final cut, grab a piece of scrap wood to test the adjustments. Place it accurately and cut as if you would do it for the final time. See if the miter gauge is set correctly, or the saw needs to be moved and make the adjustments.
Try to fit both parts together and they should fit perfectly with a clean outline.
Arranging the wood
Place the fence on edge of the table in front of your right hand. Place the wood between the fence and saw. The marked guideline should align with the blade. The miter gauge has to be placed away from the blade that is towards your left so that blade doesn’t run through the miter gauge after the wood is cut.
To avoid kickbacks stand behind the miter gauge. Avoid standing behind the blade because the wood may hit back at you.
Placing the wood through the blade
Hold the wood on the opposite side of where you are planning to cut. For example- if you plan to cut on the right side of the piece, place your hand on the left side. Maintain a distance of at least 6 inches between your hand and the saw blade.
Plug in the cord, turn the switch on and let the blade run at its full speed. Hold one hand on the miter gauge and push everything further slowly and steadily. Don’t rush or stop while the wood is being cut, otherwise, you won’t achieve a smooth and clean cut.
If you are having a bevel cut, make a use of push stick to avoid close contact with the blade. Once the wood is cut, it will also cause some damage to the fence. If you use scrap wood as a fence, then it’s fine. Once the wood is completely cut, pull everything behind to disassemble. Turn the switch off and unplug the main cord. Your angled cut wood is ready to use for the project.
Precautions to avoid hazards
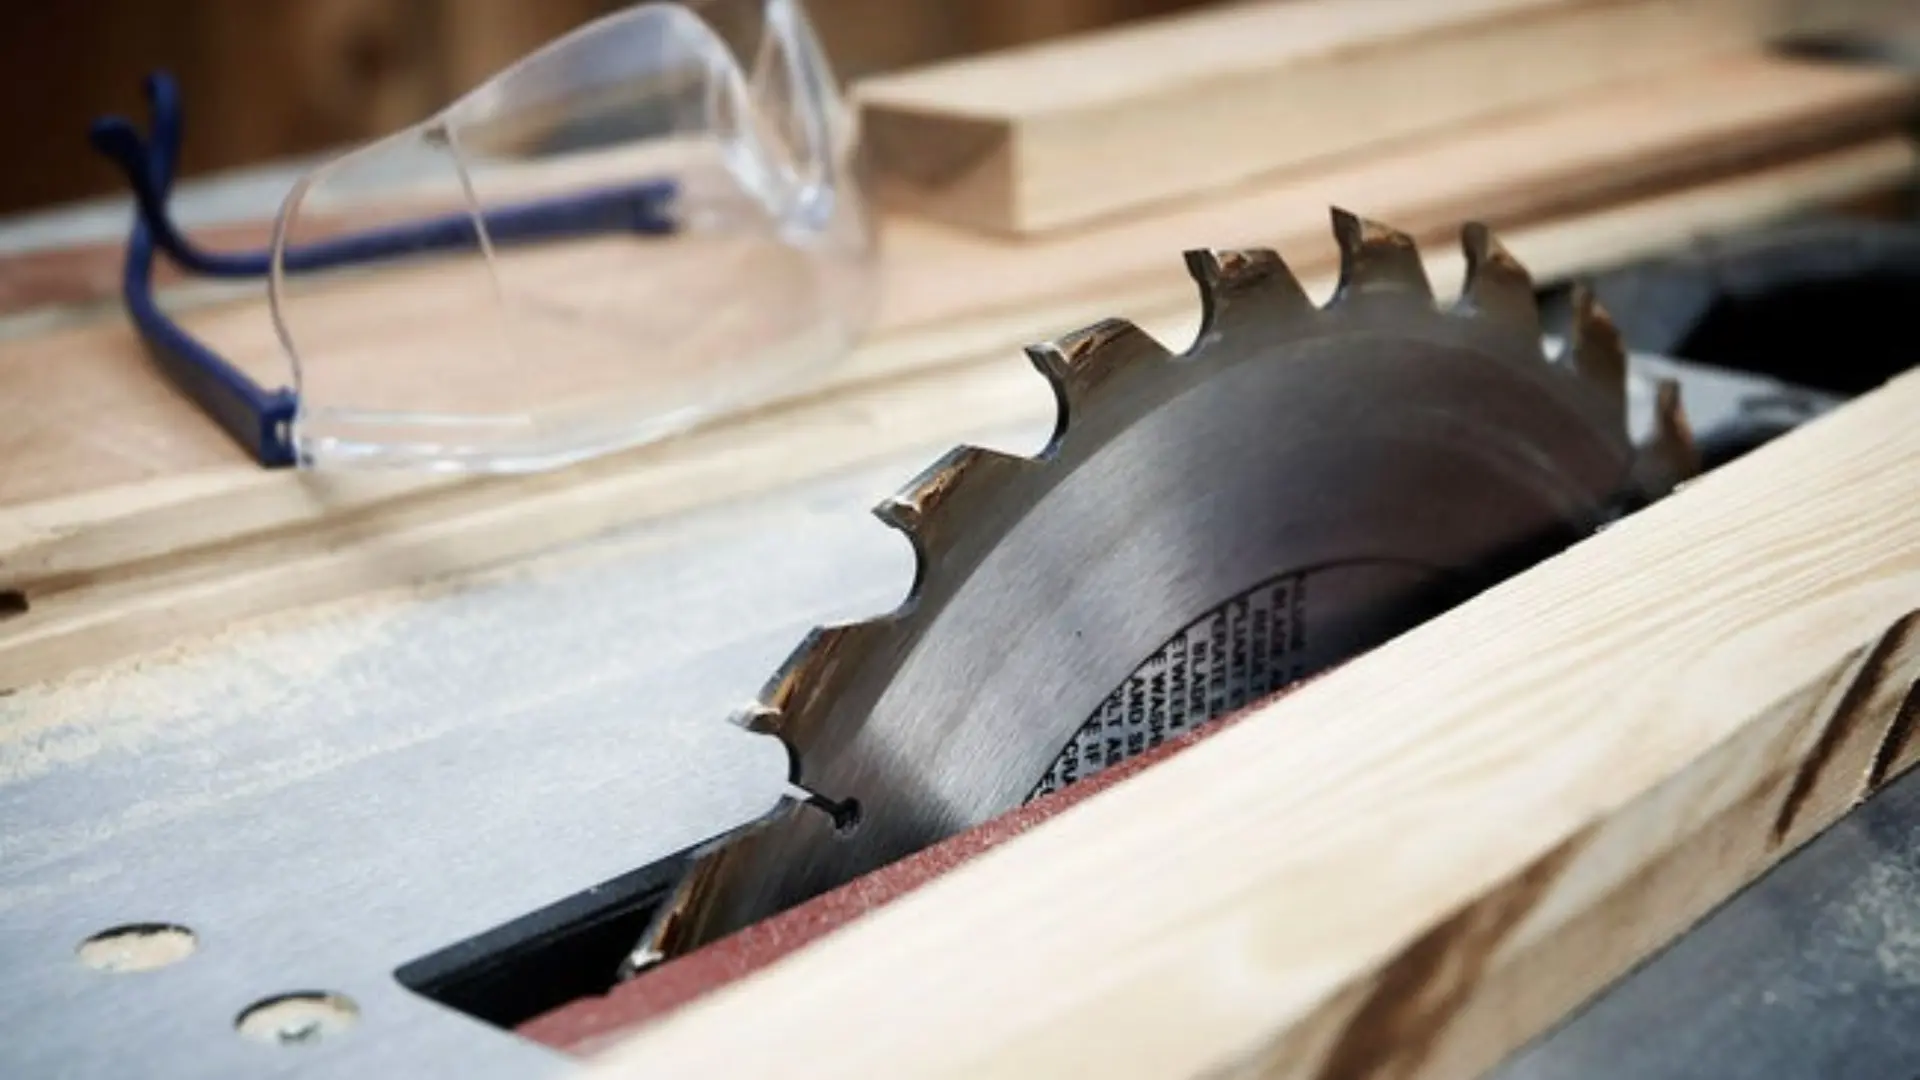
- Hence wood is exposed to a sharp blade it results in dust particles and even slightly bigger pieces of wood flying in the air. Hence use proper eye safety glasses to avoid the risk of dust entering into the eye.
- When the blade cuts the wood, it creates extreme noise that our open ears cannot tolerate. Prolonged exposure to such noise leads to hearing difficulties and even deafness. To stay away from such dangers, use hearing protection that reduces the noise entering into our ears.
- Avoid wearing loose-fitting clothes as they may get trapped in and you won’t even be able to take them off. While working with a table saw, wear comfortable, short sleeves t-shirts.
- Never operate your saw-free hand in any case. Take the help of push sticks and clamps. Clamps help fix and secure the wood to the fence hence it becomes easier to have a good grip on the wood. Push sticks maintain the distance between your hand and blades.
- Stand comfortably and maintain distance from blades.
Frequently Asked Questions
How do I avoid kickbacks?
While operating table saw, kickbacks are common when you cut woods at great speed. To avoid these, you can take the help of a riving knife that is set on the tabletop. Besides this, avoid standing right behind the blade, stand behind the miter gauge instead.
How do I secure my wood piece to the fence?
The best way is to use clamps that fill fix the wood to the fence together so that you can focus on where the wood is being cut and not towards the grip.
Conclusion
Now that you are aware of the do’s and don’ts and the process of how to cut angles on a table saw, you’ll be able to do it with perfection. Remember to follow all the safety precautions to avoid injuries and danger. Go ahead to your tabletop, grab all the tools and begin the process. Take your project to the next level by following these simple steps to achieve precision and accuracy.


![How to use a Table Saw [Step-by-Step] Guide 2024](https://prosawtool.com/wp-content/uploads/2021/07/How-to-use-a-Table-Saw-2-768x432.webp)