7 Steps to Fix a Hole in the Wall 2024
Whether your walls are too thin to even bear a nail drilling or your annoying family member has punched it. In both these situations, walls can crumble easily making a hole in your wall. Such repairs need to mend really fast and it can be quite simple to do only if you know how to fix a hole in the wall.

According to a theory, it can happen with a person at least once in their lifetime, so this skill can be fruitful for every adult. You’ll invest some effort to get it done by knowing about the materials and making the best use of them, delivering the perfect outcome.
Moreover, you will be required only to put in a few hours as it needs for drying absorbing purposes. However, the time you’ll be working would only be half an hour. In this blog, we’ll be suggesting some tips to mend any kind of hole in your walls.
7 Steps to Fix the Hole in the Wall
Fixing a hole doesn’t require any drastic steps that aren’t solvable without any professional help. So if you’re tight on budget then it would be recommended to try as many DIY projects as you can until you reach out to the pros.
1. Prepare your Material
Before even getting started with the project, the first and foremost step would be to make sure you have all the right materials you need for the process to happen smoothly.
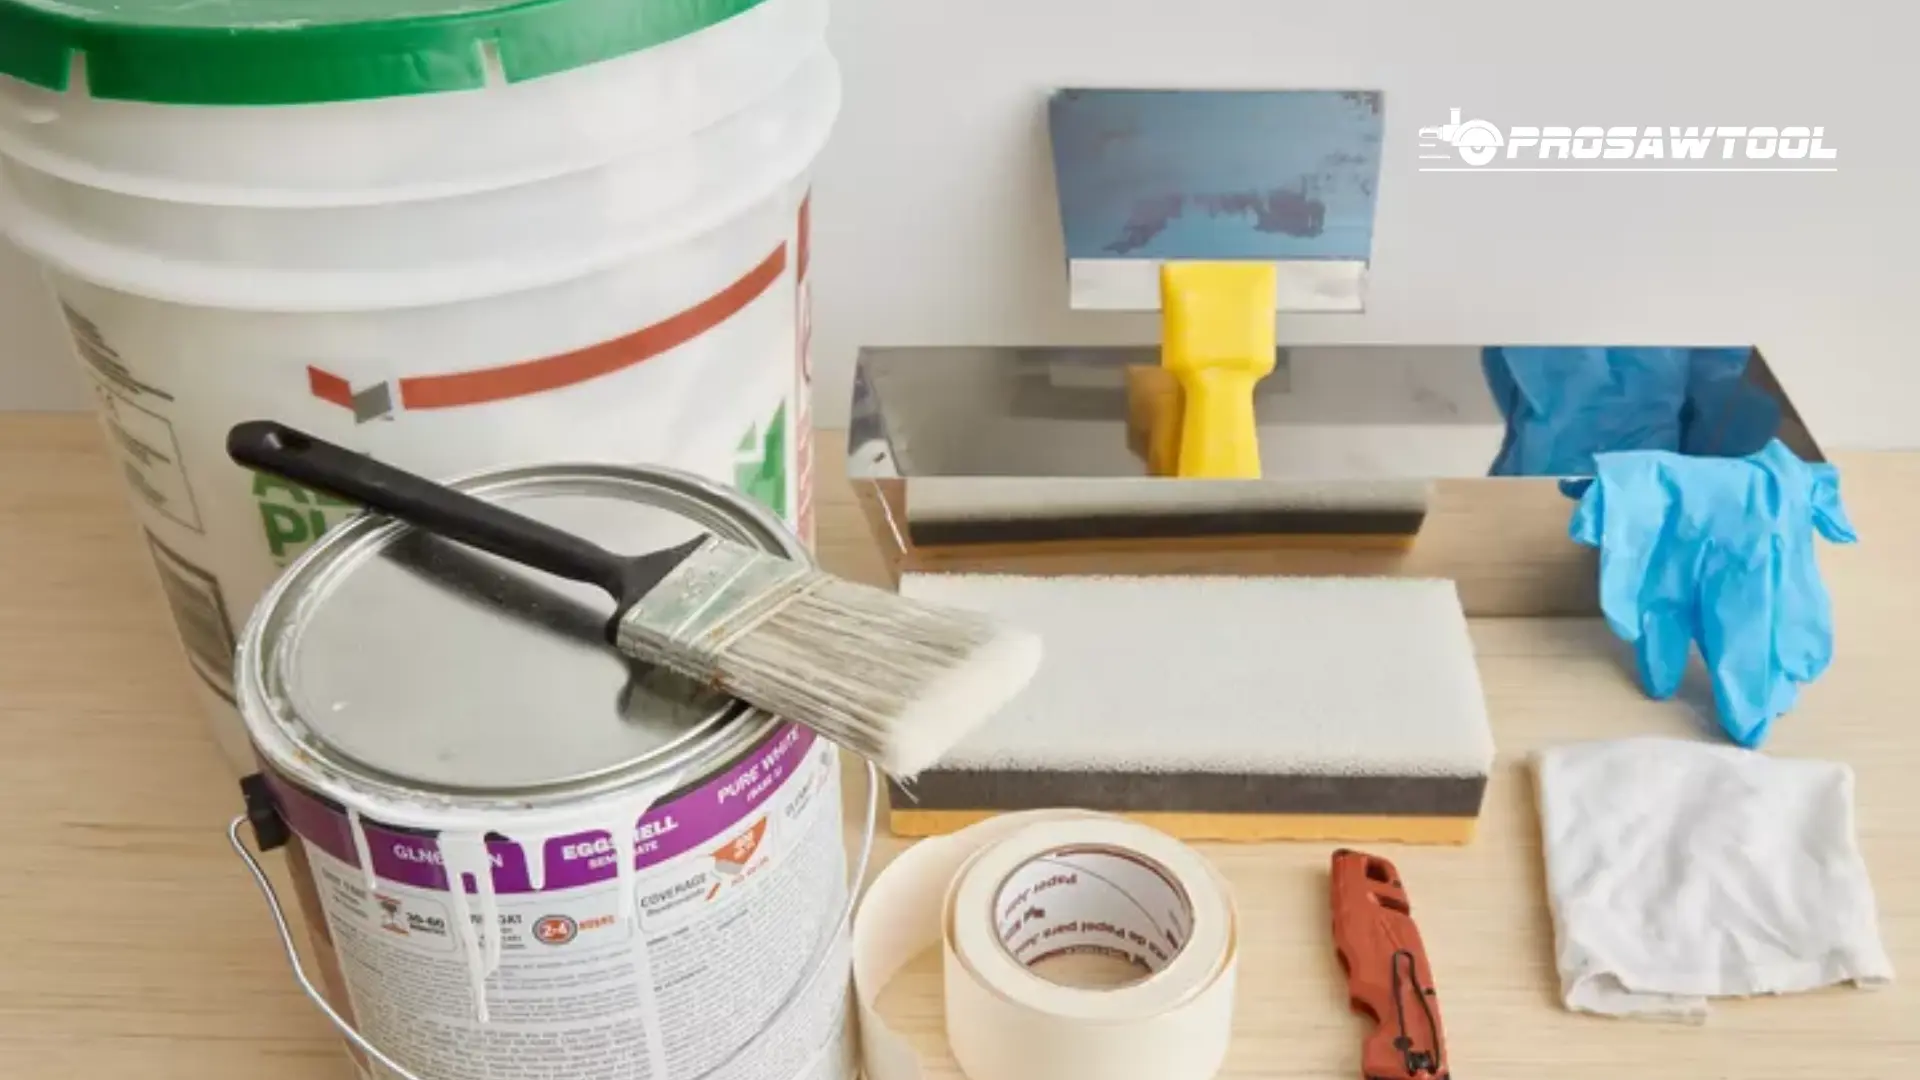
Take all the required materials and put them in a tray or a toolbox close to you. It is important so that you don’t have to run to the store every time you need a tool.
The tools that are required to fix a hole in your wall include a putty knife, drywall patch material i.e plaster, patch for the wall, sandpaper, wet sponge, water spray bottle, texture spray, paint brush, and paint.
2. Work on the Hole
Before any patching can be done, all sorts of loose drywall must be removed completely from the hole. Drywall may be hanging behind the hole or sticking towards the edges. Now once the loose drywall has been gotten rid of, the patching compound can be applied.
However, before the patching compound is applied, make sure to smooth the edges of the hole with the help of sand paper.
3. Stick Wall Patch on the Hole
Smooth and sanded, the hole is ready to get patched. Pick up your wall patch and remove the backing paper to reveal the sticky side of the wall patch. Face the sticky side towards the wall and then apply carefully around the edges of the hole. Make sure to leave half an inch on each side and smooth the edges of the patch.
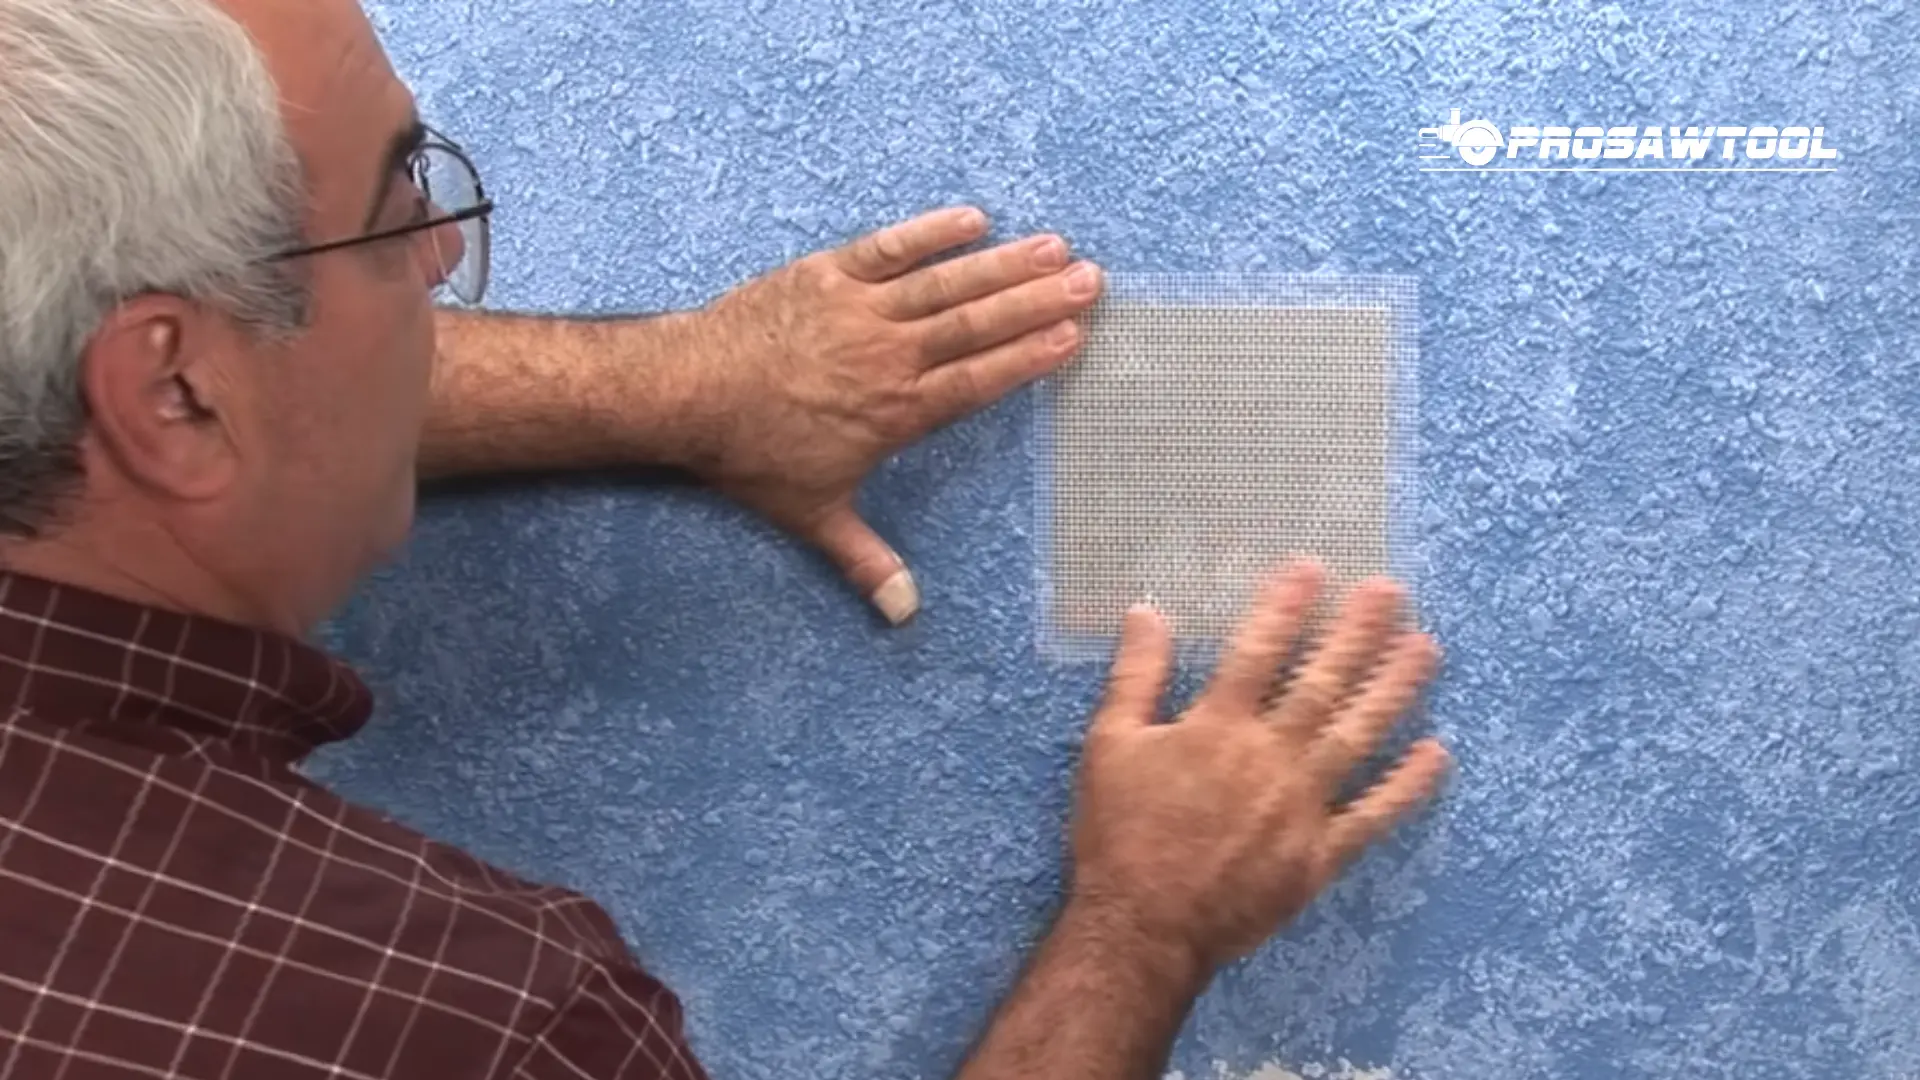
Not all patching papers retain their stickiness, so if you are having trouble with getting yours to stick, some water may help. You can use a spray bottle to apply the water, or if you don’t have access to a spray bottle, a wet sponge will work just as well.
If neither of these methods helps with the sticking process, you can apply a small amount of the drywall patching compound in the corners, and then try again to stick the wall patch. Also check out how to remove a wallpaper from a room.
4. Spread Drywall Patch Material to the Wall Patch
Now the patching compound needs to be applied to the wall patch and you can use your good ol’ putty knife to scoop the patching compound from the container.
Take a small amount and apply it around the edges. Once all edges are covered with the patching compound, move towards the middle of the wall patch.
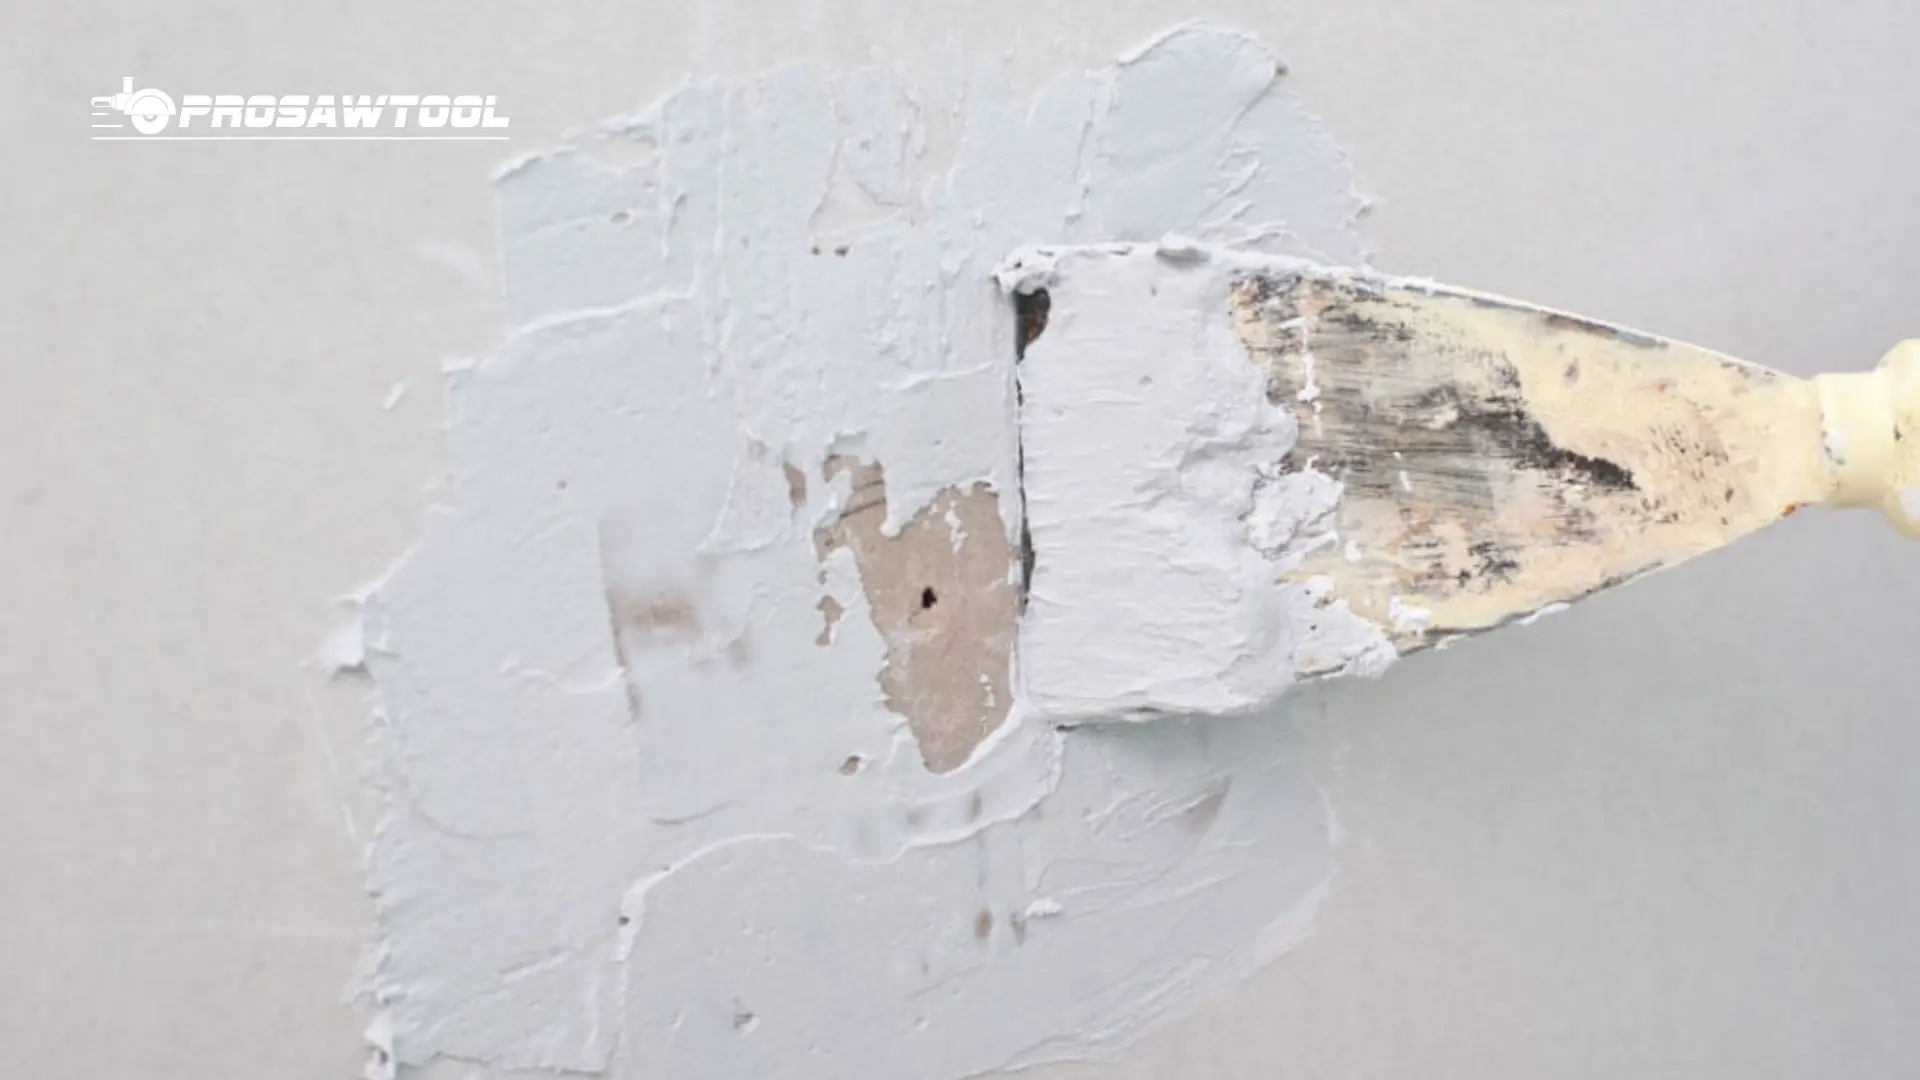
The rest of the wall patch now needs to be covered up, so don’t stop until not a single spot is left on the wall patch. Once the entire patch is covered, the compound needs to be smoothed out.
Now although it’s not necessary to completely smooth out the compound as it will be sanded out later, smoothing it out earlier will make the sanding process easier. Here are the best sanders specially for drywall I have reviewed.
The work, for now, is done, so give yourself a pat on the back and let it all dry overnight.
5. Sand Uneven Parts
Now comes the sanding part, so take out your sanding paper and start smoothing out the patching compound. While sanding, you may notice that the repaired hole looks a bit raised when compared to the rest of the wall, and that is completely fine.
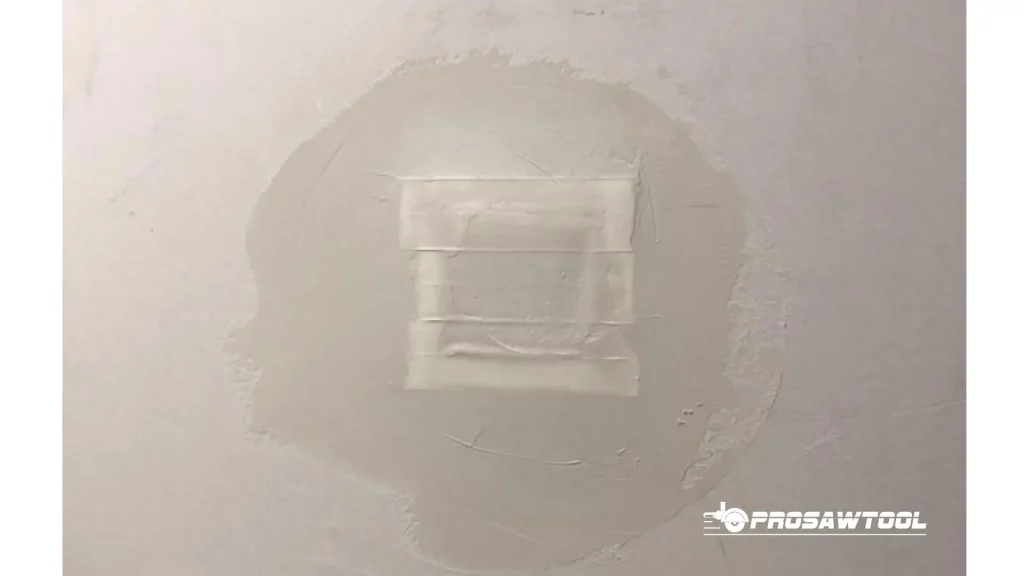
Once the sanding process is complete, and the compound is as smooth as it can be, dampen a cloth in wet water or paper towels and wipe it over the area. Let the area dry and clean off the excess dust. Have a look at the best sanders you can use on a wall.
6. Texture Spray on Sanded Area
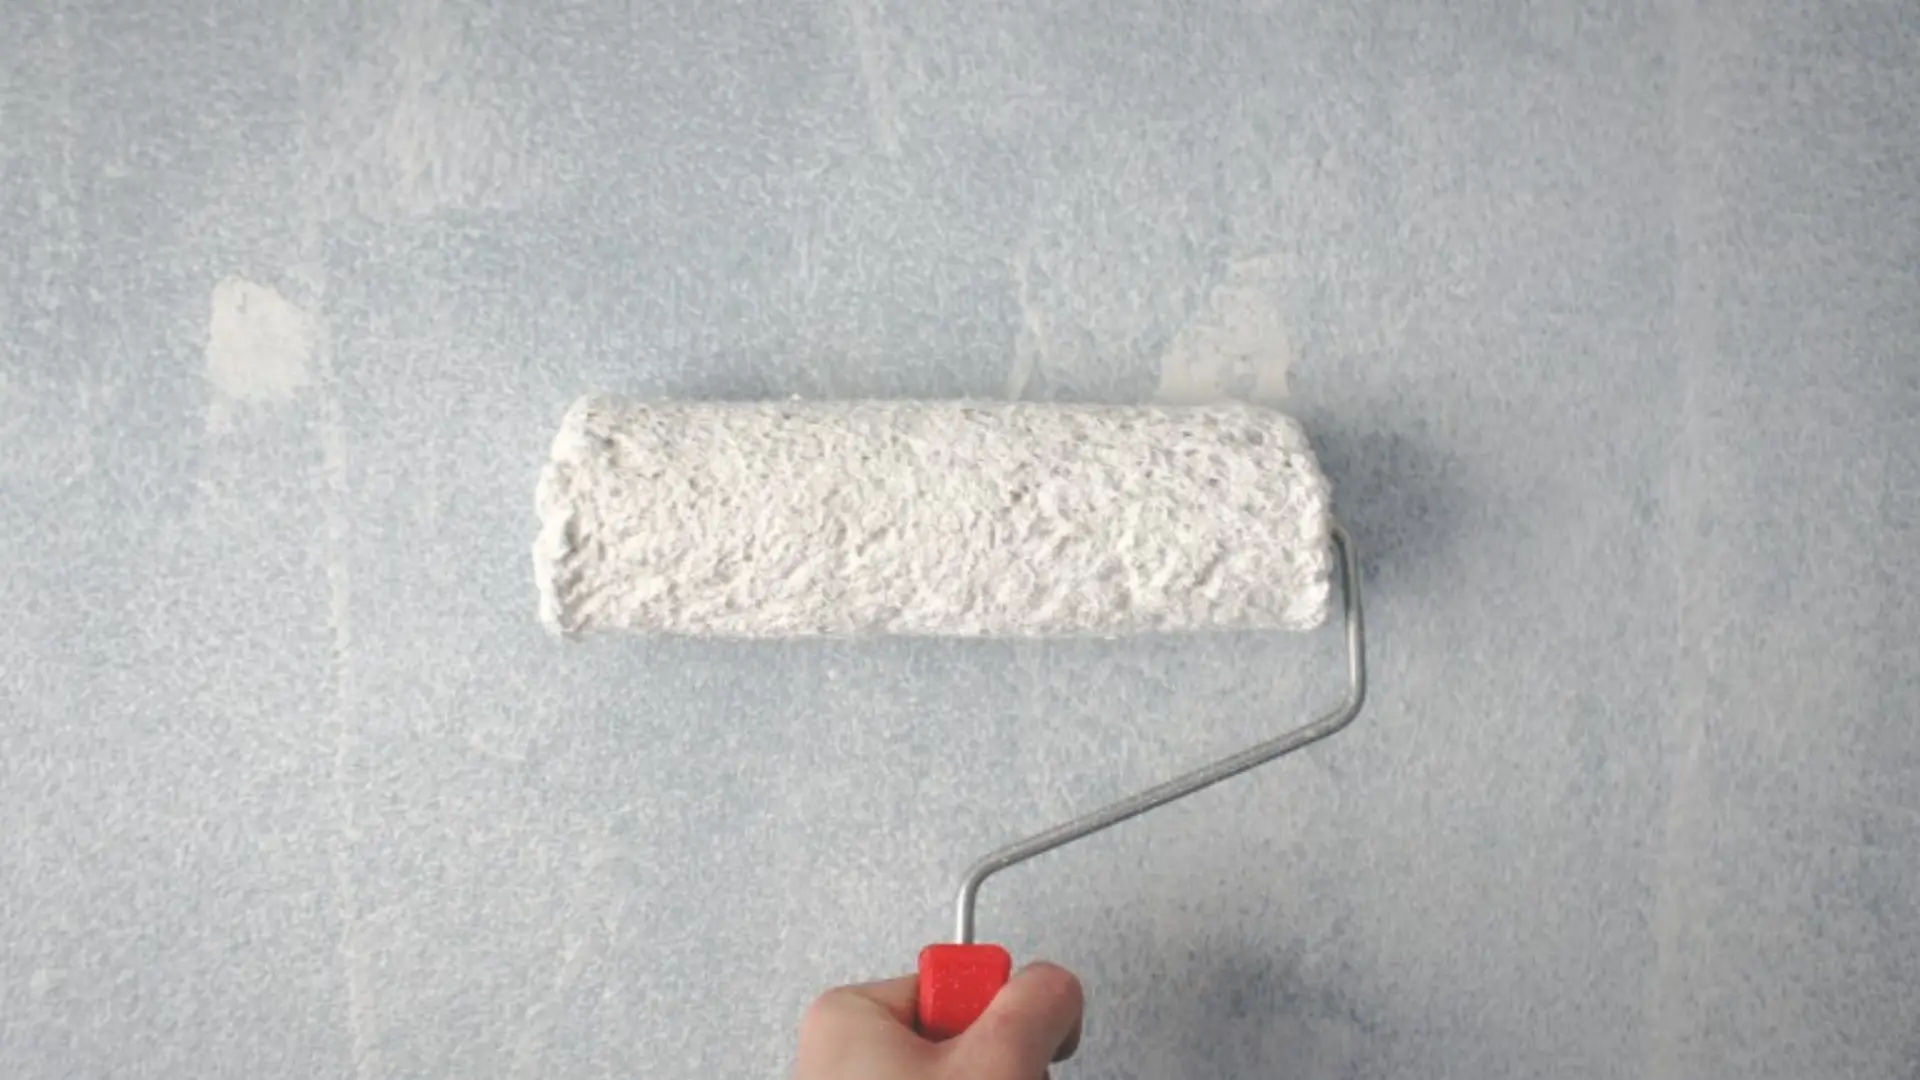
The hole is fixed, however, it looks completely different from the rest of your wall. Get your wall texture spray and apply lightly over the area, and once done, leave it to dry overnight.
7. Repainting Wall Surface
Finally, after getting all the hard work done, it’s time to take charge of the most fun part of this entire DIY. You get to paint the wall where there was once a hole so that it could match the rest of the surface easily.
You must be wondering how I can get matching paint like the rest of the wall. For that, you can just download an app scanning the color of the wall like Project Color and giving you the code for the paint. Moreover, you can also contact real estate agents to figure out the color which you can buy from any hardware shop.
Frequently Asked Questions
What is the best drywall compound to use?
Although many people use many different materials to mimic drywall, the best of them all is taping compound. It gets harder and can be sand with just a little effort. You can use it for filling all types of cracks.
What is the purpose of texture spray?
It offers a unique and long lasting coating on the surface whether you’re using it for concrete, wood, metal, etc. You’ll find a finger pad that you can just push to let out the solution to deliver even results.
Conclusion
As your wall starts to crumble, you’ll look at it as the end of the wall, however, it is quite simple to fix again. Any type of hole in the wall is an open invitation for insect infestation as it can serve as the best entry point for them. So, if you don’t want your home to be filled with fruit flies, gnats, or bed bugs then try fixing it as soon as you can.
Even if you’re not handy, this process is so easy to follow that you can get the best result after tackling it with some patience and care.